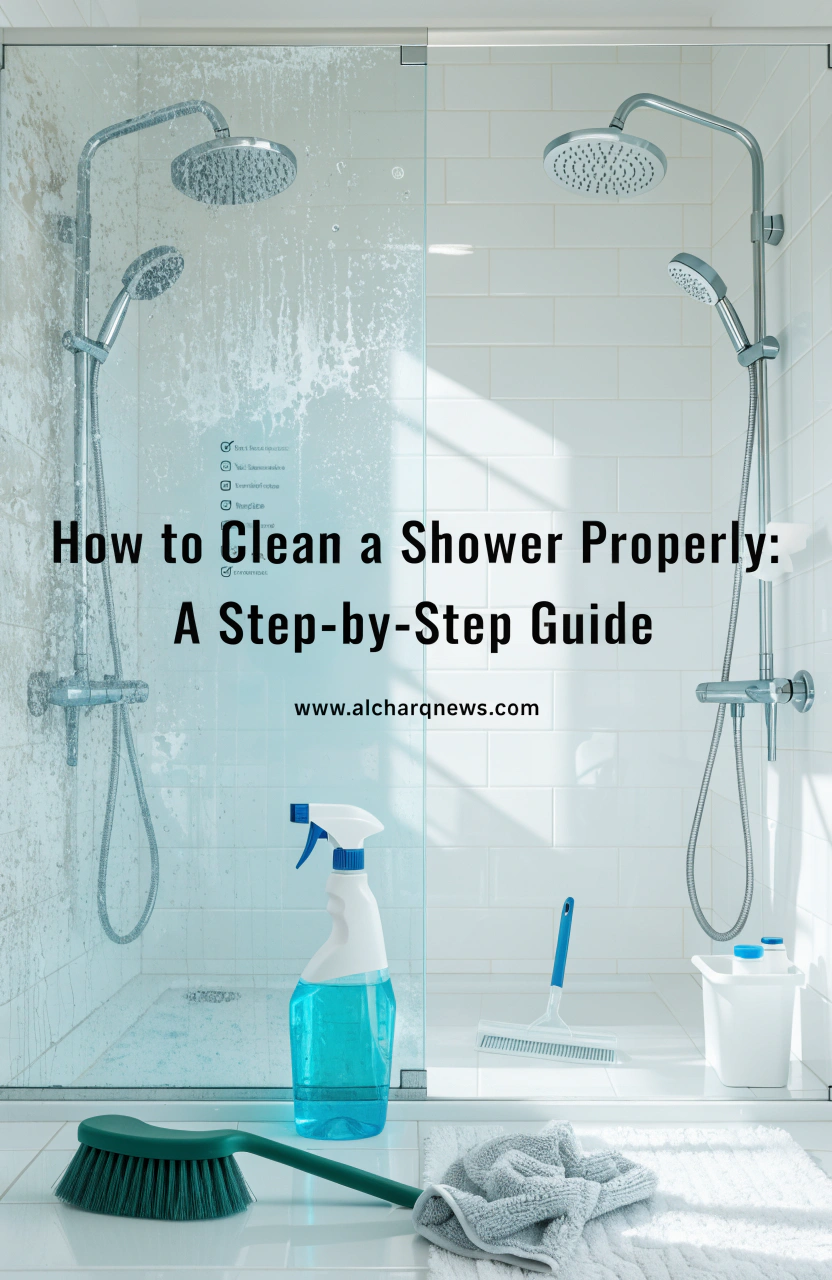
How to Clean a Shower Properly: A Step-by-Step Guide for a Sparkling Bathroom
There’s something incredibly satisfying about stepping into a clean, fresh shower. It can make your entire bathroom feel brighter and more inviting. Unfortunately, showers are also one of the quickest places in your home to collect soap scum, hard water stains, mildew, and grime. If you’ve ever wondered how to restore your shower to its original shine, you’re in the right place.
This guide will show you How to Clean a Shower Properly: A Step-by-Step Guide that is simple, effective, and easy to maintain. By following these steps, you can keep your shower looking spotless while reducing future cleaning time.
Why Cleaning Your Shower Regularly Matters
Many people wait until their shower looks dirty before cleaning it. However, regular maintenance helps prevent stubborn buildup and keeps your bathroom healthier.
Benefits of Cleaning Your Shower
- Prevents mold and mildew growth
- Removes soap scum before it hardens
- Eliminates bacteria and odors
- Extends the lifespan of tiles and fixtures
- Keeps your bathroom looking fresh and inviting
A clean shower isn’t just about appearance—it also helps create a healthier environment for you and your family.
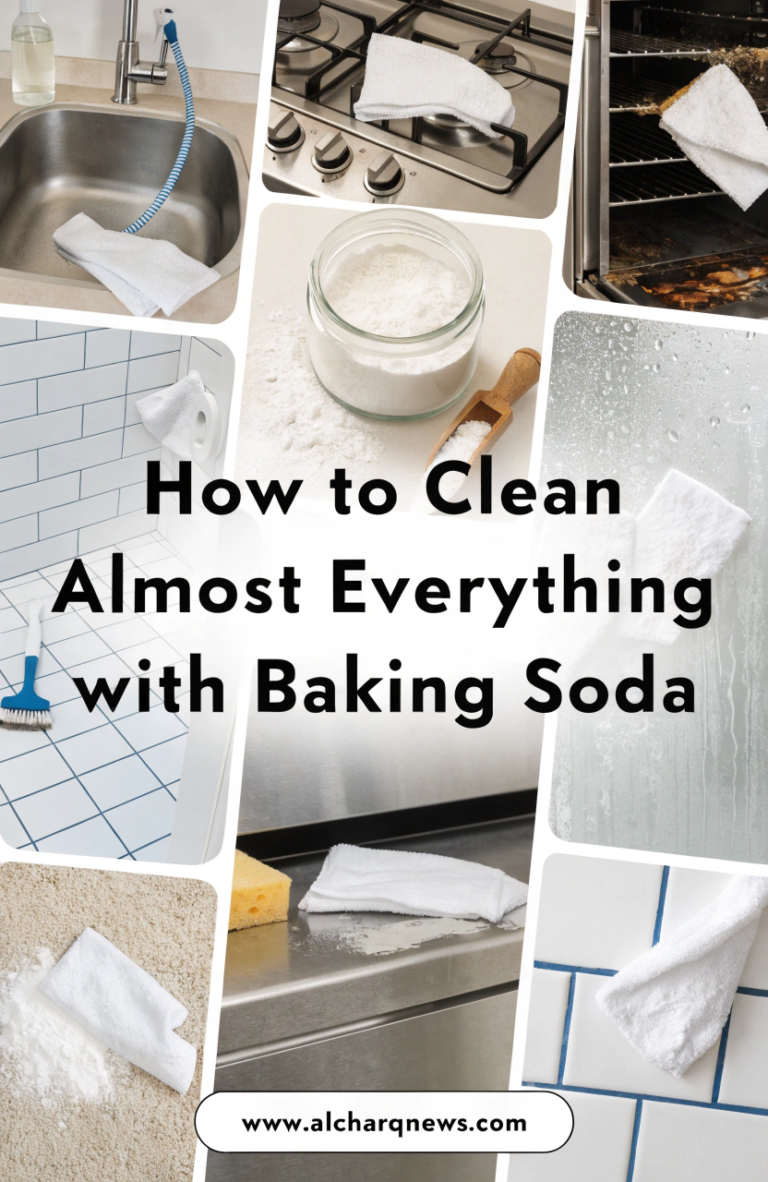
Essential Supplies for Cleaning a Shower Properly
Before you begin, gather your cleaning tools and ingredients.
Shower Cleaning Supplies
| Ingredient/Tool | Purpose |
|---|---|
| White Vinegar | Dissolves mineral deposits |
| Baking Soda | Gentle scrubbing power |
| Dish Soap | Cuts through soap scum |
| Spray Bottle | Applies cleaning solution |
| Microfiber Cloth | Wiping and polishing |
| Soft Brush | Cleaning grout and corners |
| Sponge | General cleaning |
| Rubber Gloves | Protects your hands |
| Squeegee | Prevents water spots |
These simple supplies are affordable and can handle most shower-cleaning tasks without harsh chemicals.
Understanding Common Shower Problems
Before you start cleaning, it helps to know what you’re dealing with.
Soap Scum
Soap scum forms when soap mixes with minerals found in water. Over time, it leaves a cloudy film on tiles, tubs, and glass doors.
Hard Water Stains
If your home has hard water, mineral deposits can accumulate on shower surfaces. These stains often appear as white or chalky spots.
Mold and Mildew
Bathrooms provide the warm, damp conditions that mold and mildew love. These can develop in grout lines, corners, and around fixtures.
Knowing the source of these problems makes it easier to choose the right cleaning method.
How to Clean a Shower Properly: A Step-by-Step Guide
Step 1: Remove Everything from the Shower
Start by taking out:
- Shampoo bottles
- Soap dishes
- Razors
- Shower caddies
- Bath toys
Removing these items gives you access to every surface and prevents dirt from hiding behind containers.
Step 2: Rinse the Entire Shower
Use warm water to rinse walls, doors, floors, and fixtures.
This simple step helps:
- Loosen dirt
- Soften soap residue
- Prepare surfaces for cleaning
Even a quick rinse can make the cleaning process much easier.
Step 3: Apply Your Cleaning Solution
A homemade cleaner works surprisingly well on most shower surfaces.
Homemade Shower Cleaner Recipe
| Ingredient | Amount |
|---|---|
| White Vinegar | 1 cup |
| Warm Water | 1 cup |
| Dish Soap | 1 tablespoon |
Mix the ingredients in a spray bottle and shake gently.
Spray generously on:
- Shower walls
- Tiles
- Glass doors
- Fixtures
Allow the solution to sit for 10 to 15 minutes so it can break down grime and mineral deposits.
Step 4: Scrub Shower Walls and Tiles
Once the cleaner has had time to work, begin scrubbing.
Focus on:
- Tile surfaces
- Corners
- Shelves
- Problem areas with visible buildup
Use a soft-bristled brush or sponge to avoid scratching surfaces.
Always work from top to bottom. This prevents dirty water from running onto areas you’ve already cleaned.
Step 5: Clean Grout Thoroughly
Grout often holds onto dirt longer than tiles.
Baking Soda Grout Paste
| Ingredient | Amount |
|---|---|
| Baking Soda | ½ cup |
| Water | As Needed |
Mix the ingredients until you have a thick paste.
How to Clean Grout
- Apply the paste to grout lines.
- Let it sit for 10 minutes.
- Scrub gently using a soft brush.
- Rinse thoroughly.
This method helps lift dirt while brightening grout without harsh chemicals.
Step 6: Remove Hard Water Stains
Hard water deposits can make even a clean shower appear dull.
For stubborn spots:
- Soak a cloth in vinegar.
- Place it over stained areas.
- Leave it for 15 to 20 minutes.
- Wipe clean.
This technique works especially well on:
- Shower heads
- Faucets
- Glass doors
- Metal fixtures
Step 7: Clean Glass Shower Doors
Glass doors often reveal every water spot and streak.
To restore clarity:
- Spray vinegar solution onto the glass.
- Allow it to sit for several minutes.
- Wipe using a microfiber cloth.
- Buff dry for a streak-free finish.
The result is crystal-clear glass that instantly makes your bathroom look cleaner.
Step 8: Rinse and Dry All Surfaces
After scrubbing is complete, rinse the shower thoroughly with warm water.
Then:
- Wipe surfaces with a microfiber cloth.
- Use a squeegee on glass doors.
- Dry fixtures to prevent water spots.
Drying is one of the most overlooked steps, yet it makes a huge difference in maintaining a polished appearance.
How to Keep Your Shower Clean Longer
Deep cleaning becomes much easier when you follow a simple maintenance routine.
Daily Shower Habits
After each shower:
- Use a squeegee on glass doors
- Wipe excess water from fixtures
- Leave the door open for ventilation
- Run an exhaust fan if available
These habits take only a few minutes but significantly reduce buildup.
Weekly Maintenance Schedule
| Task | Frequency |
|---|---|
| Wipe walls | Daily |
| Squeegee glass | Daily |
| Clean fixtures | Weekly |
| Check grout | Weekly |
| Deep clean shower | Monthly |
Consistency prevents small problems from becoming major cleaning projects.
Common Shower Cleaning Mistakes to Avoid
Even with good intentions, some cleaning habits can cause damage.
Avoid These Mistakes
- Using steel wool or abrasive scrubbers
- Mixing incompatible cleaning products
- Ignoring grout maintenance
- Skipping regular ventilation
- Allowing soap scum to accumulate for months
Taking a gentle but consistent approach is often more effective than aggressive scrubbing.
Natural vs Commercial Shower Cleaners
Both cleaning methods have advantages.
| Feature | Natural Cleaners | Commercial Cleaners |
|---|---|---|
| Cost | Lower | Higher |
| Eco-Friendly | Yes | Varies |
| Odor | Mild | Strong |
| Effectiveness | Good | Excellent for heavy buildup |
Natural cleaners work well for routine maintenance, while commercial products may be useful for severe stains and mold issues.
Conclusion
Learning How to Clean a Shower Properly: A Step-by-Step Guide can completely transform your bathroom cleaning routine. By using the right tools, following a systematic process, and maintaining a consistent schedule, you can keep your shower sparkling year-round.
Remember, the secret isn’t spending hours scrubbing. It’s preventing buildup before it becomes a problem. A few minutes of maintenance each week can save you significant time and effort in the future.
Start using these simple techniques today, and you’ll enjoy a cleaner, fresher shower every time you step inside.
Frequently Asked Questions
How often should you clean a shower properly?
A light cleaning every week and a deeper cleaning once a month is ideal for most households.
What is the best homemade shower cleaner?
A mixture of white vinegar, warm water, and dish soap is one of the most effective homemade shower-cleaning solutions.
How do you remove hard water stains from a shower?
Applying vinegar to affected areas and allowing it to soak before wiping can help dissolve mineral deposits.
Can baking soda clean shower grout?
Yes. Baking soda creates a mild abrasive paste that helps lift dirt and stains from grout lines.
Why is it important to follow a step-by-step shower cleaning guide?
A structured approach ensures that all areas are cleaned thoroughly, helping you achieve better results while protecting shower surfaces from damage.