How to Brine Chicken: The Ultimate Guide to Perfectly Juicy, Flavorful Poultry Every Time
Picture this scenario: You’ve spent hours preparing what should be an impressive dinner, carefully seasoning and cooking your chicken to golden perfection. Yet when you slice into that beautiful bird, disappointment strikes. The meat is dry, lacks depth of flavor, and requires generous amounts of sauce just to make it palatable.
This frustrating experience doesn’t have to define your culinary adventures. There’s an age-old technique that professional chefs swear by—one that virtually guarantees succulent, deeply flavored results every single time. Learning how to brine chicken properly will revolutionize your cooking and transform ordinary poultry into restaurant-quality masterpieces.
Table of contents
The Science Behind Why You Should Brine Chicken
What Happens When You Brine Chicken
When you submerge chicken in a salt-water solution, fascinating scientific processes begin working in your favor. The salt molecules penetrate the meat through osmosis, breaking down protein structures and creating tiny pockets that trap moisture during cooking. This process doesn’t just season the surface—it infuses flavor throughout every fiber.
Your chicken’s protein chains actually restructure themselves, forming a network that holds onto water molecules more effectively. Research shows that properly brined poultry retains up to 10% more moisture compared to untreated meat, explaining why your results will be dramatically juicier.
Benefits of Brining Chicken
The advantages extend far beyond simple moisture retention:
- Enhanced flavor penetration: Seasonings reach deep into the meat rather than sitting on the surface
- Improved texture: Proteins become more tender while maintaining structure
- Cooking forgiveness: Brined chicken is much harder to overcook and dry out
- Better browning: Natural sugars in the brine promote beautiful caramelization
Essential Ingredients and Equipment for Perfect Chicken Brine
Basic Brine Chicken Recipe Ingredients
Your foundation requires just a few simple components, but getting the ratios right makes all the difference:
| Ingredient | Amount (per 1 gallon water) | Purpose |
|---|---|---|
| Kosher Salt | 1 cup (8 oz) | Primary brining agent |
| Water | 1 gallon | Brine base |
| Sugar | 1/2 cup | Balances saltiness, aids browning |
| Bay Leaves | 2-3 leaves | Aromatic flavor |
| Black Peppercorns | 1 tablespoon | Subtle spice complexity |
Equipment You’ll Need
Success depends on having the right tools at your disposal:
- Large non-reactive container (glass, food-grade plastic, or stainless steel)
- Accurate measuring cups and spoons
- Whisk for thorough salt dissolution
- Adequate refrigerator space for safe storage
- Heavy-duty food storage bags (optional alternative to containers)
Advanced Flavor Variations
Once you’ve mastered the basics, these creative combinations will elevate your results:
| Brine Type | Additional Ingredients | Best Applications |
|---|---|---|
| Mediterranean Herb | Fresh rosemary, thyme, oregano, lemon zest | Roasted whole birds |
| Citrus Burst | Orange and lime juice, fresh ginger | Grilled pieces |
| Smoky Spice | Paprika, cumin, chipotle powder | BBQ preparations |
| Asian Fusion | Soy sauce, rice wine, star anise | Stir-fry dishes |
Step-by-Step Guide: How to Brine Chicken Like a Pro
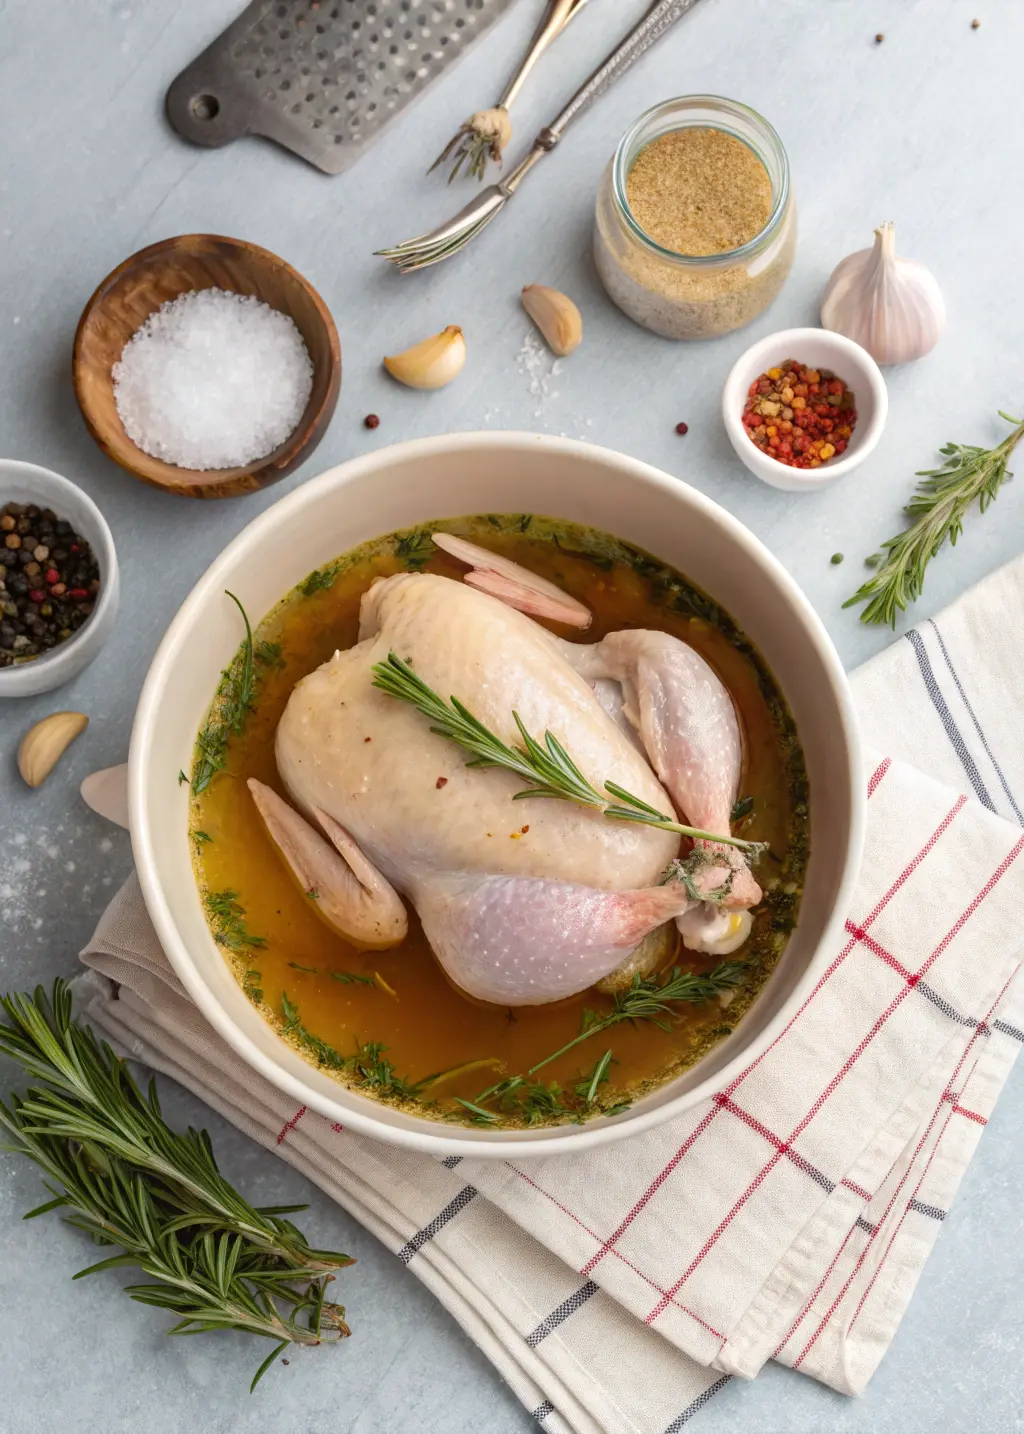
Preparing Your Chicken Brine Solution
Creating the perfect brine requires attention to detail and proper technique:
- Heat 2 cups of water in a medium saucepan over medium heat
- Add salt and sugar, stirring continuously until completely dissolved—no grains should remain visible
- Incorporate your chosen aromatics while the mixture is still warm to extract maximum flavor
- Remove from heat and cool to room temperature before proceeding
- Add remaining cold water to achieve your full gallon volume
- Chill thoroughly in the refrigerator before introducing chicken
The initial hot water step is crucial because salt dissolves much more efficiently at higher temperatures. However, adding chicken to warm brine creates dangerous bacterial growth conditions, making the cooling step non-negotiable.
Proper Chicken Preparation
Your poultry needs minimal preparation, but these steps ensure optimal results:
- Remove all packaging materials and pat completely dry with paper towels
- Trim excess fat deposits if desired, though some fat adds flavor
- Score thick breast portions lightly to improve brine penetration
- Separate pieces if working with parts rather than whole birds
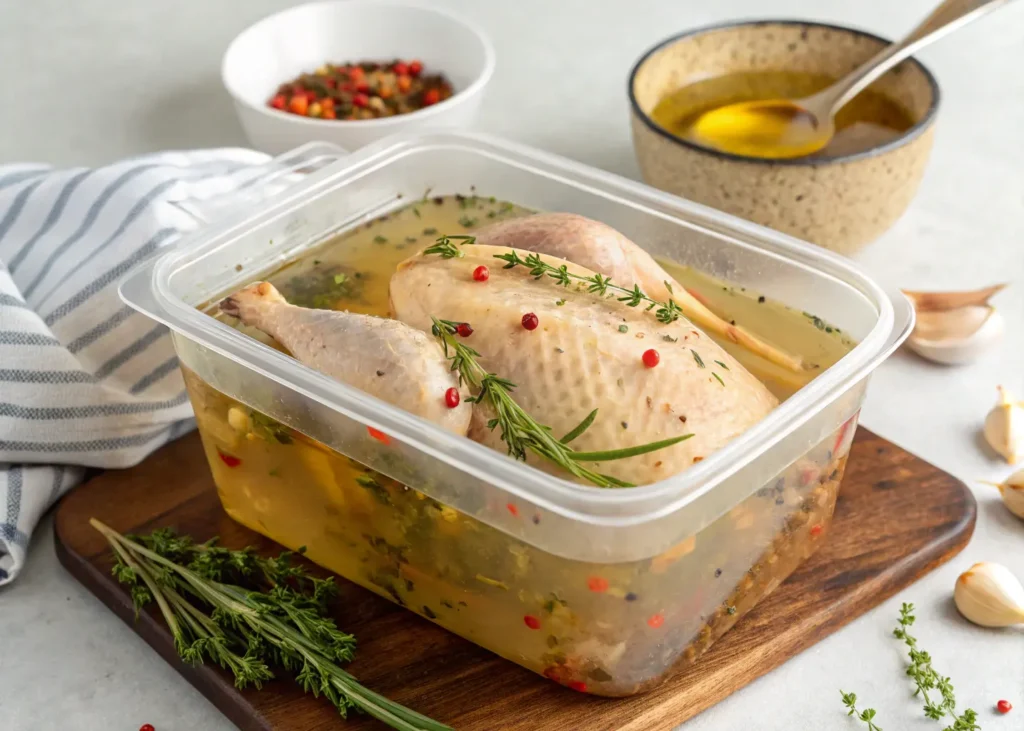
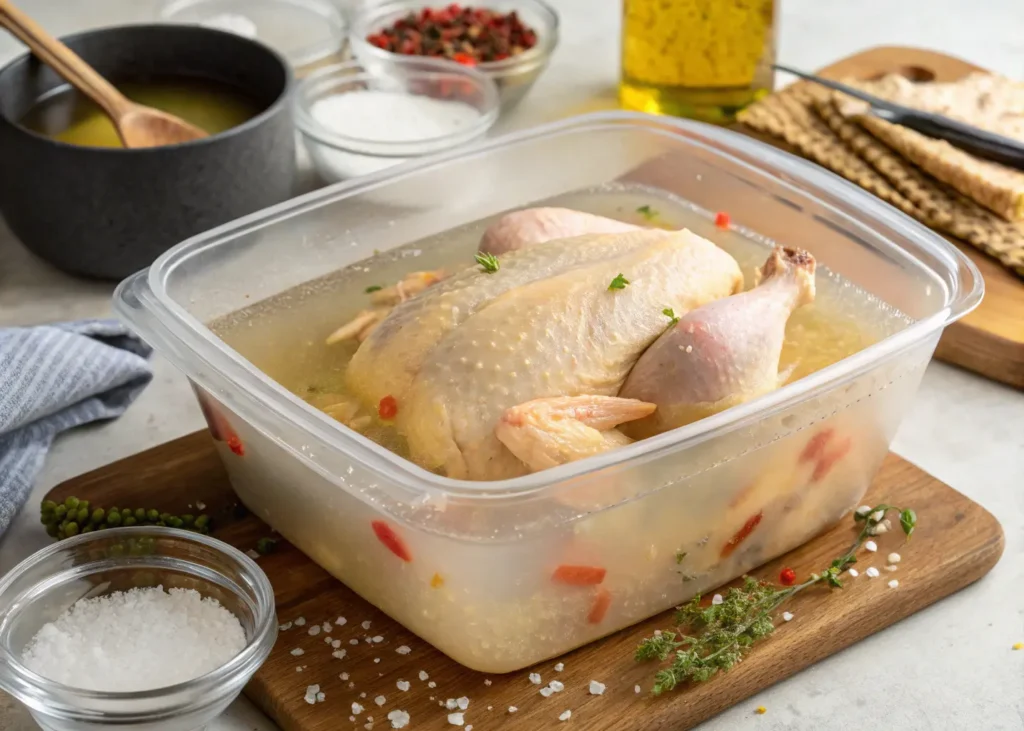
The Brining Process: Time and Temperature Guidelines
Timing is everything when you brine chicken. Too little time yields minimal benefits, while excessive brining creates unpleasant textures:
| Chicken Cut | Minimum Time | Maximum Time | Sweet Spot |
|---|---|---|---|
| Whole Chicken (3-4 lbs) | 4 hours | 24 hours | 8-12 hours |
| Bone-in Breasts | 2 hours | 6 hours | 3-4 hours |
| Boneless Breasts | 30 minutes | 4 hours | 1-2 hours |
| Thighs & Drumsticks | 2 hours | 8 hours | 4-6 hours |
| Wings | 30 minutes | 2 hours | 1 hour |
Your refrigerator temperature must remain at 40°F or below throughout the entire process. Position your container on the bottom shelf to prevent any potential drips from contaminating other foods.
Common Mistakes When You Brine Chicken
Over-Brining: The Primary Pitfall
Excessive brining time transforms your chicken into a mushy, overly salty disappointment. The meat develops a ham-like texture as proteins break down too completely. Watch for these warning signs and adjust your timing accordingly.
Salt Selection and Measurement Errors
Different salt types have varying crystal sizes and densities. Table salt is much more concentrated than kosher salt, so direct substitutions will over-salt your brine. When using table salt, reduce quantities by approximately 25% to achieve equivalent results.
Temperature and Safety Oversights
Leaving chicken at room temperature during brining creates prime conditions for harmful bacteria multiplication. Your brine temperature must stay consistently cold, and any container showing signs of off-odors or sliminess should be discarded immediately.
Cooking Your Brined Chicken to Perfection
Post-Brining Preparation
You have options when it comes to rinsing your brined chicken. Rinsing removes surface salt but also eliminates some flavor compounds. For properly balanced brines, rinsing isn’t necessary—simply pat the chicken completely dry before cooking.
Cooking Method Adjustments
Brined chicken cooks faster than untreated meat due to its altered protein structure. Reduce your normal cooking times by about 10-15% and monitor internal temperatures carefully. The enhanced moisture retention means your chicken will reach safe temperatures while staying incredibly juicy.
Achieving Perfect Results
Different cooking methods require specific considerations:
For roasting: Start at higher temperatures (425°F) to promote browning, then reduce heat to finish cooking gently.
For grilling: Use medium heat to prevent the natural sugars in your brine from burning before the meat cooks through.
For pan-searing: Get your pan properly hot before adding chicken, then finish in a moderate oven for even cooking.
Troubleshooting Your Chicken Brine Results
Overly Salty Results
If your finished chicken tastes too salty, you likely used excessive salt concentrations or extended brining times beyond recommendations. For future attempts, reduce salt quantities by 25% or shorten brining duration.
Lackluster Flavor
Weak-tasting results typically indicate insufficient brining time or diluted brine concentrations. Ensure your salt ratios match recipe specifications and allow adequate time for flavor penetration.
Texture Problems
Mushy chicken results from over-brining, while tough meat despite brining suggests insufficient time or weak salt concentrations. Follow timing guidelines precisely and maintain proper ratios for consistent results.
Advanced Techniques for Brining Success
Dry Brining Alternative
Dry brining involves coating chicken with salt and letting it rest, drawing out moisture that then dissolves the salt and gets reabsorbed. This technique works excellently for crispy-skinned preparations and requires less refrigerator space.
Make-Ahead Strategies
You can brine chicken up to 24 hours in advance, making meal preparation much more manageable. For even greater convenience, portion and freeze brined chicken in individual servings—it thaws beautifully while retaining all brining benefits.
Transform Your Cooking Today
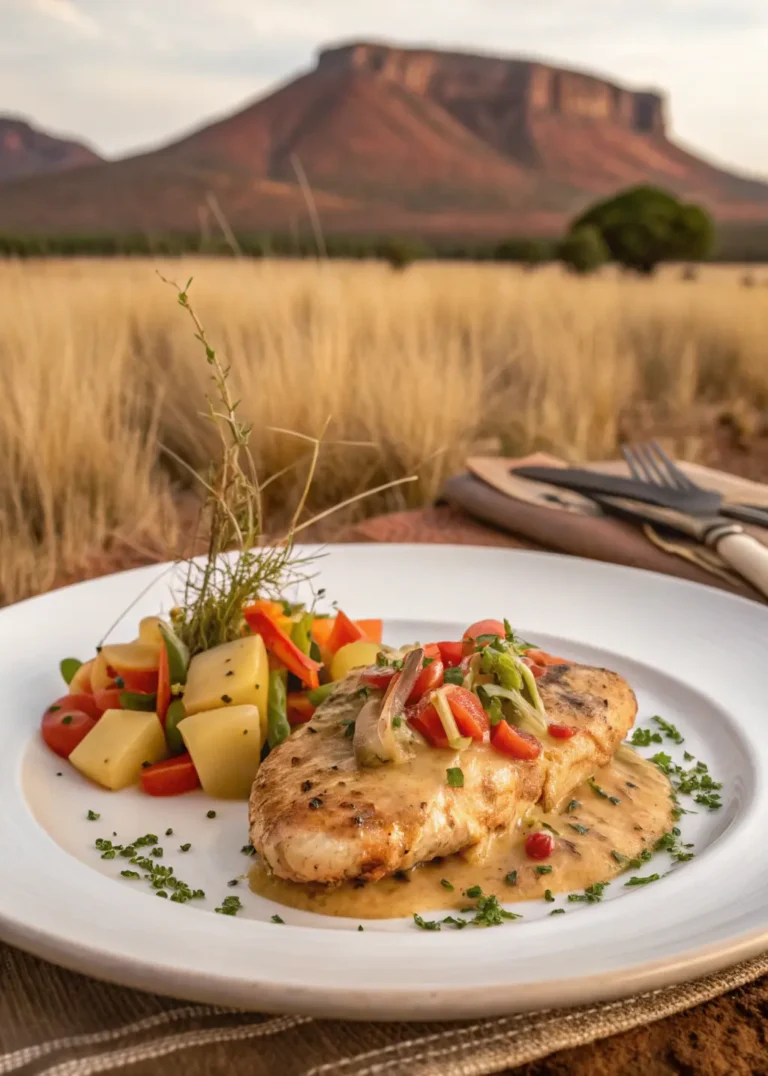
Mastering how to brine chicken opens up a world of culinary possibilities. This simple technique delivers professional-quality results that will impress family and guests while building your confidence in the kitchen. Start with the basic recipe provided, then experiment with flavor variations to develop your signature style.
Your next chicken dinner doesn’t have to be ordinary. Take action today—gather your ingredients, clear some refrigerator space, and experience the remarkable difference that proper brining makes. Your taste buds will thank you, and you’ll never want to cook chicken any other way again.
Ready to revolutionize your chicken cooking? Start with a simple whole bird this weekend and discover why professional chefs consider brining an essential technique. Share your results and favorite flavor combinations in the comments below—your fellow home cooks would love to hear about your brining adventures!
Have you given our recipe a try?
There are no reviews yet. Be the first one to write one.