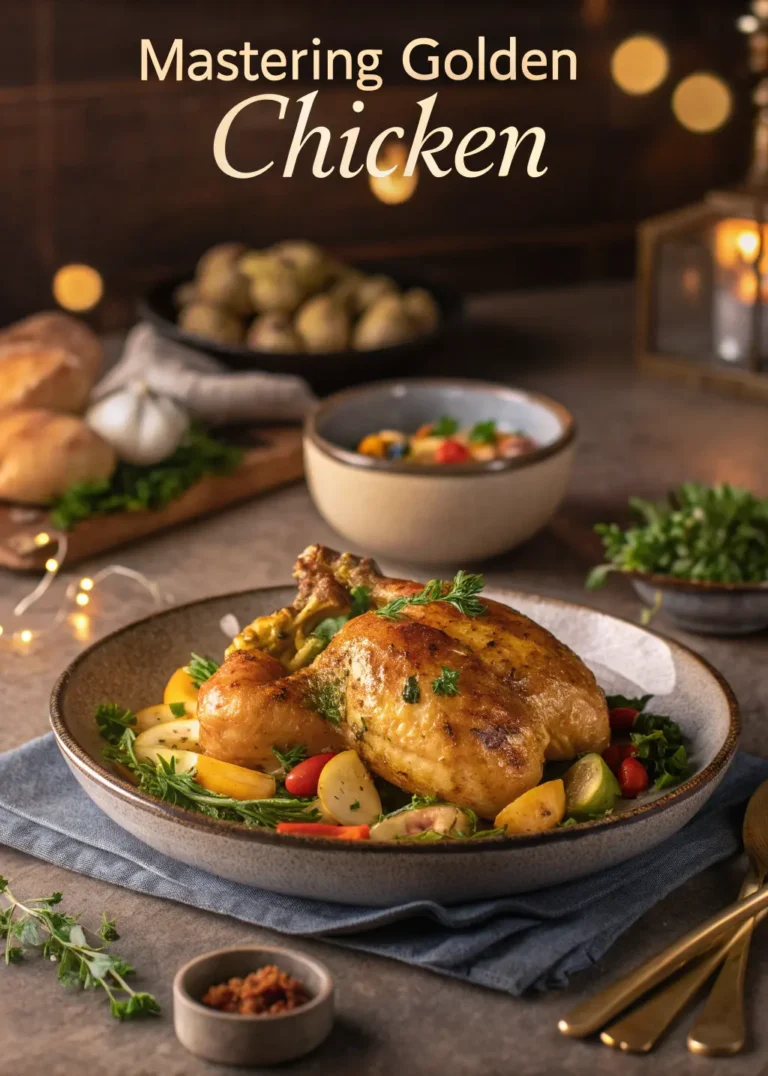
Master the Art of Cooking Bone-In Chicken Breast: 5 Easy Steps to Juicy, Flavorful Perfection
Picture this: you’re standing in your kitchen, staring at those gorgeous bone-in chicken breasts you just brought home from the market. Your stomach rumbles with anticipation, but doubt creeps in. Will they turn out dry and flavorless like your last attempt? Or worse, will you serve undercooked chicken to your family?
The truth is, cooking bone-in chicken breast intimidates even experienced home cooks. Yet once you master this technique, you’ll wonder why you ever struggled. These five foolproof steps will transform your approach to preparing this protein powerhouse, guaranteeing succulent, restaurant-quality results every single time.
Table of contents
Why Choose Bone-In Chicken Breast Over Boneless?
Before diving into the cooking process, let’s address why bone-in chicken breast deserves a permanent spot in your meal rotation. The bone acts as a natural heat conductor, ensuring even cooking throughout the meat. Meanwhile, the skin provides a protective barrier that locks in moisture while developing an irresistibly crispy exterior.
Your wallet will thank you too. Bone-in varieties typically cost 30-40% less than their boneless counterparts, making them an economical choice for feeding families. The flavor difference is remarkable – bones release natural gelatin and marrow during cooking, creating depth that boneless cuts simply cannot match.
Essential Ingredients for Perfect Results
Success starts with quality ingredients and proper preparation. Here’s everything you’ll need:
| Ingredient | Quantity (Serves 4) | Purpose |
|---|---|---|
| Bone-in chicken breasts | 4 pieces (6-8 oz each) | Main protein |
| Olive oil | 2 tablespoons | Searing and moisture |
| Kosher salt | 1 teaspoon | Seasoning foundation |
| Freshly ground black pepper | ½ teaspoon | Flavor enhancement |
| Garlic powder | 1 teaspoon | Aromatic depth |
| Sweet paprika | 1 teaspoon | Color and warmth |
| Fresh thyme sprigs | 2 pieces | Herbal brightness |
| Unsalted butter | 2 tablespoons | Richness and basting |
Step-by-Step Guide: 5 Easy Steps to Cook Bone-In Chicken Breast
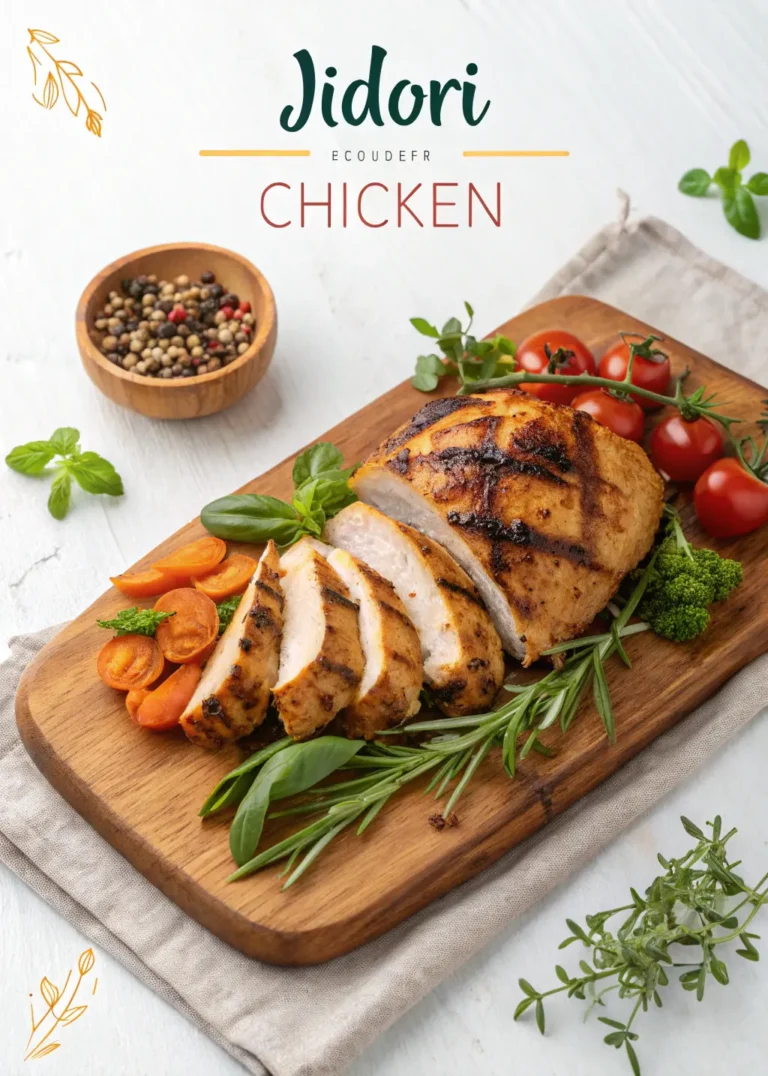
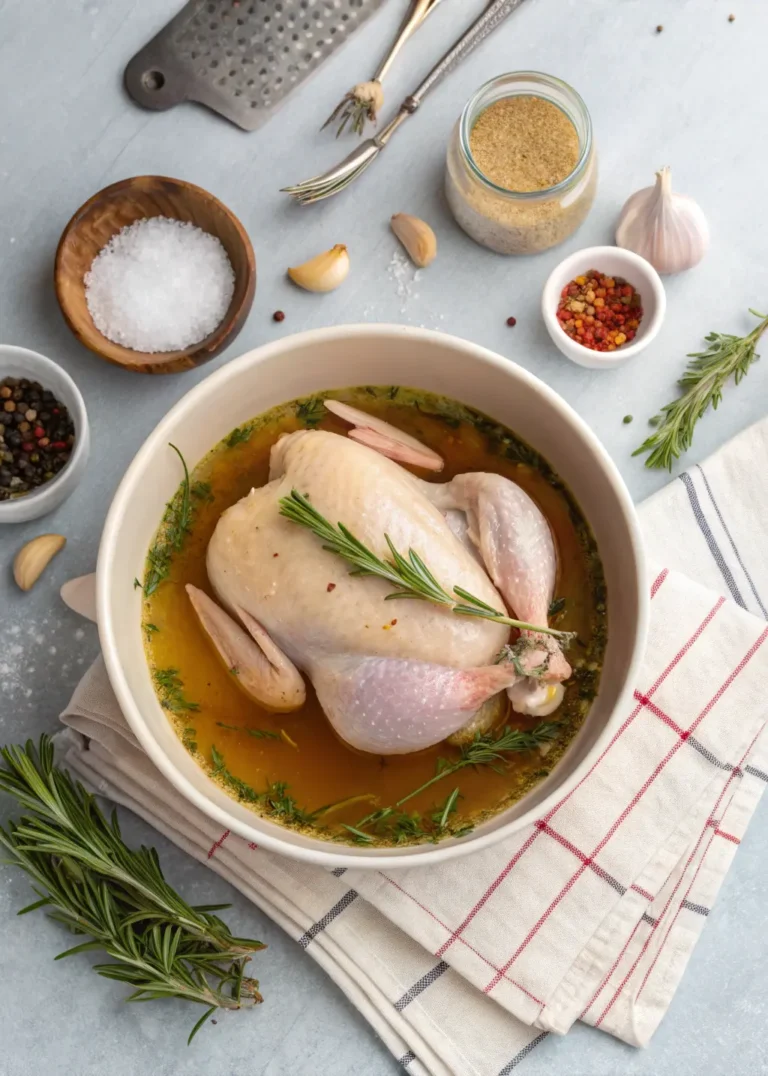
Step 1: Preparation and Seasoning Your Bone-In Chicken Breast
Temperature matters more than you might realize. Remove your chicken from the refrigerator 30 minutes before cooking begins. Cold protein placed directly into a hot pan creates uneven cooking – the exterior overcooks while the interior remains raw.
Pat each piece completely dry using paper towels. Moisture is the enemy of crispy skin, so don’t rush this process. Once dry, season generously on both sides with salt, pepper, garlic powder, and paprika. Press the seasonings gently into the meat, ensuring even coverage.
Allow the seasoned chicken to rest for 15-20 minutes. This resting period lets the salt begin drawing out moisture, which then dissolves the salt and carries it back into the meat. The result? Perfectly seasoned chicken throughout, not just on the surface.
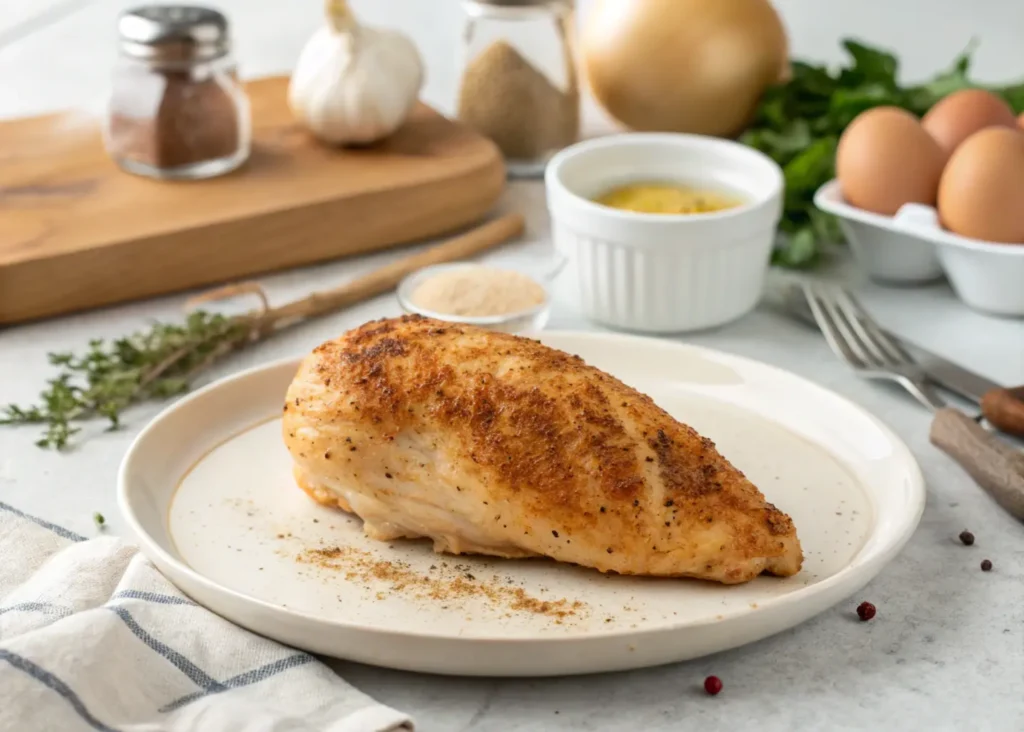
Step 2: Proper Searing Technique for Maximum Flavor
Heat a cast iron or heavy-bottomed skillet over medium-high heat. The pan should be hot enough that a drop of water sizzles and evaporates immediately. Add olive oil and swirl to coat the entire surface.
Place your bone-in chicken breast skin-side down in the hot oil. You should hear an immediate sizzle – if not, your pan isn’t hot enough. Resist the urge to move or peek at the chicken for the first 5-7 minutes. This undisturbed time allows the skin to release from the pan naturally while developing a gorgeous golden crust.
The chicken is ready to flip when you can lift it easily with tongs. If it sticks, it needs more time. Properly seared skin will be deep golden brown and crispy to the touch.
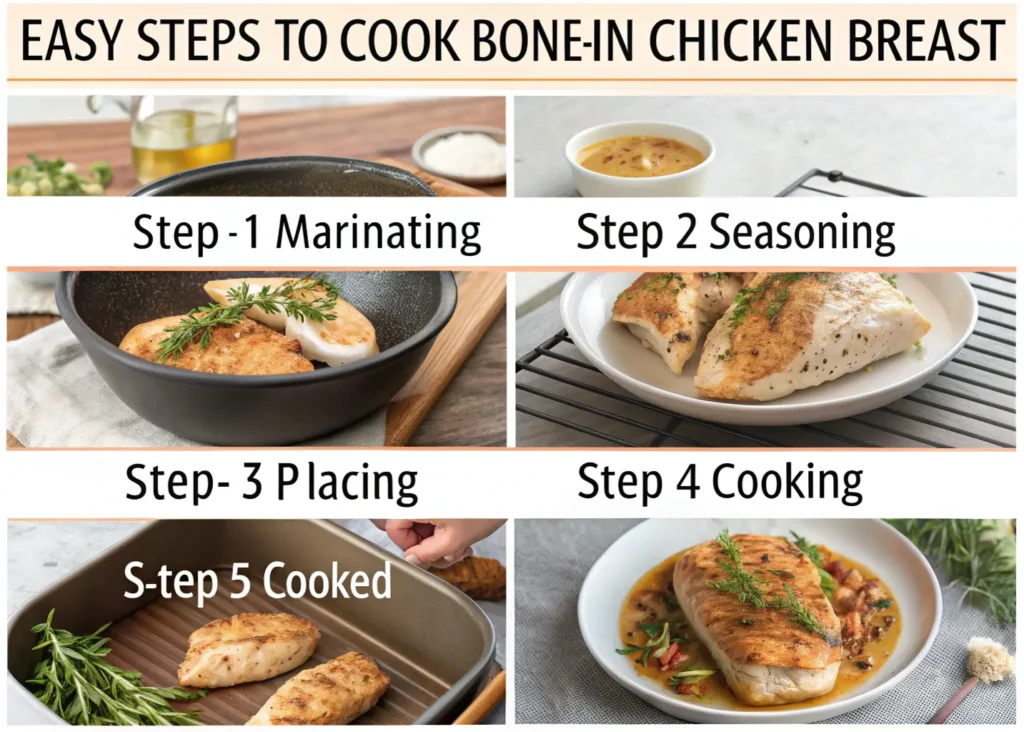
Step 3: The Flip and Oven Transfer Method
While your chicken sears, preheat your oven to 375°F (190°C). Position the rack in the center for even heat distribution.
After achieving that perfect sear, flip the chicken using tongs. Add butter and fresh thyme sprigs to the pan, letting them melt and infuse the cooking oil with additional flavor. The herbs will release their aromatic oils, creating an incredible fragrance that signals restaurant-quality cooking.
Transfer the entire pan directly to your preheated oven. This technique maintains the high heat that started the cooking process while allowing the gentler oven heat to finish the job evenly.
Step 4: Monitoring Internal Temperature and Doneness
Insert a meat thermometer into the thickest part of the breast, avoiding contact with the bone. Your target temperature is 165°F (74°C) – no higher, no lower. Overcooking bone-in chicken breast results in dry, stringy meat that no amount of sauce can rescue.
Cooking times vary based on thickness, but expect 20-25 minutes in the oven for average-sized breasts. Rather than relying solely on time, trust your thermometer. Visual cues include clear juices when pierced and meat that feels firm but not hard when gently pressed.
Baste once during cooking by spooning the herbed butter over the chicken. This step adds flavor while helping maintain moisture.
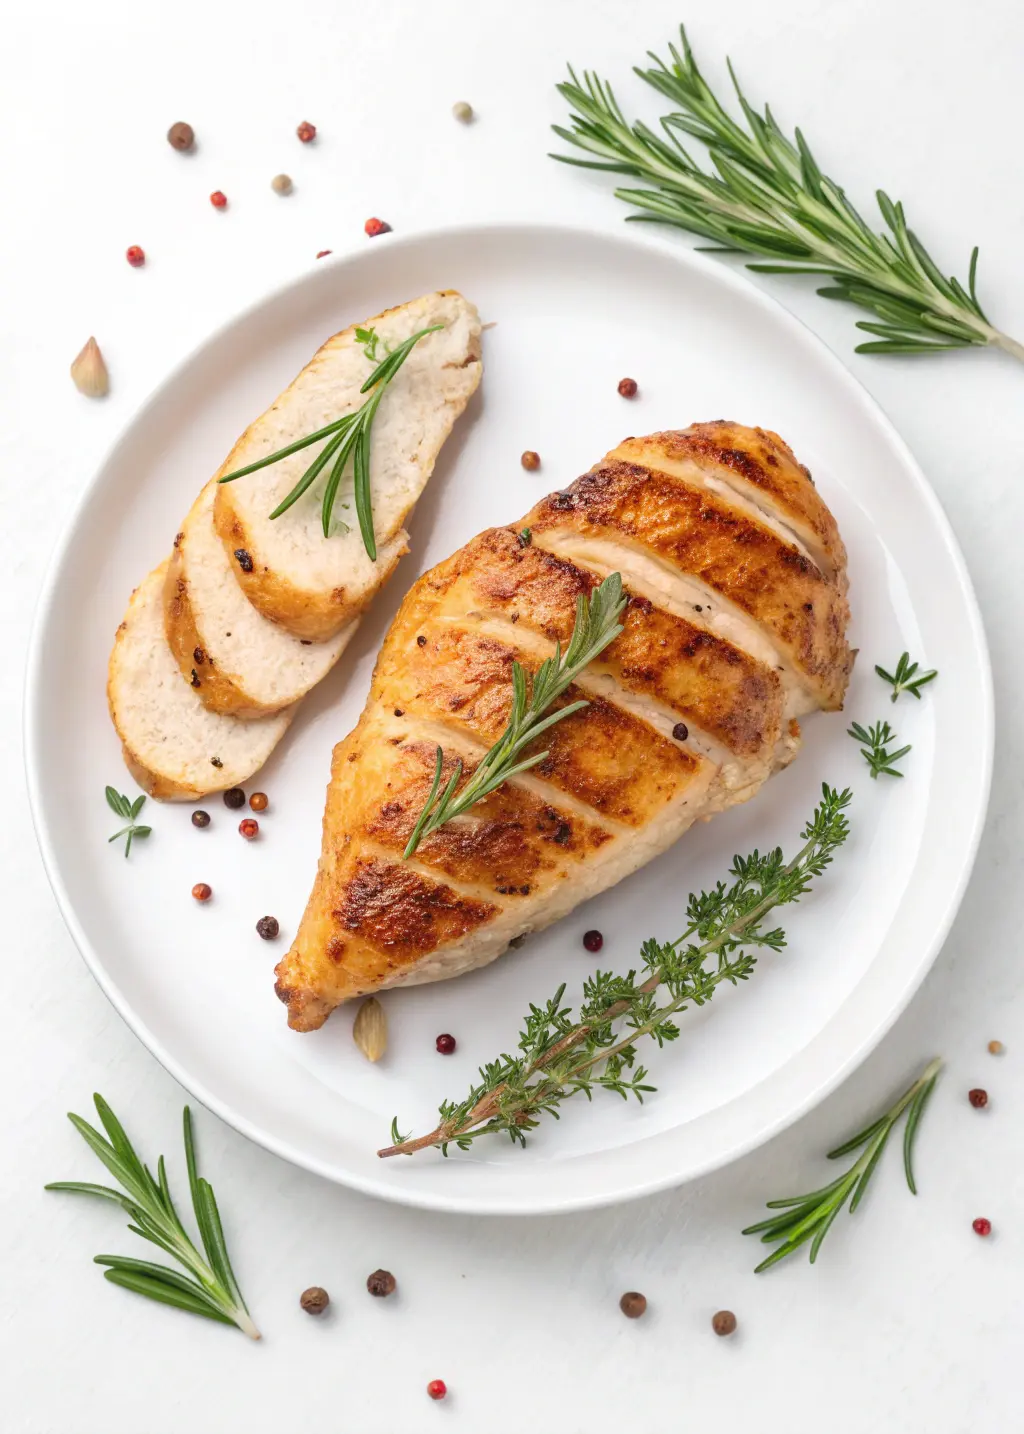
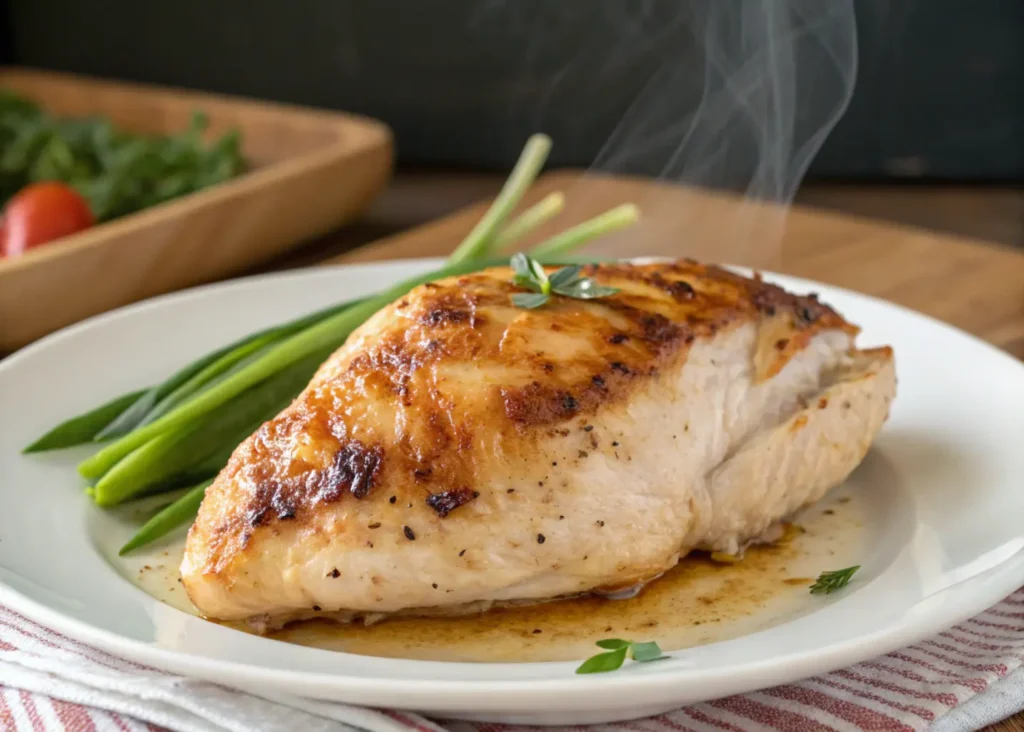
Step 5: Resting and Serving Your Perfect Bone-In Chicken Breast
Remove the chicken when it reaches 160°F – the temperature will rise another 5 degrees during resting due to carryover cooking. Tent loosely with aluminum foil and let rest for 8-10 minutes minimum.
This resting period is non-negotiable. Hot meat fibers are contracted and tight. Resting allows them to relax and reabsorb the juices that were pushed toward the surface during cooking. Skip this step, and those precious juices will run all over your cutting board instead of staying in the meat.
Expert Tips for Bone-In Chicken Breast Success
Temperature Control Mastery
Invest in a reliable instant-read thermometer. Guessing doneness leads to either food safety concerns or overcooked disappointment. Digital thermometers provide accurate readings within seconds, taking the guesswork out of cooking.
Consider the thickness of your chicken breasts. Pieces thicker than 1.5 inches may benefit from gentle pounding to create uniform thickness, ensuring even cooking throughout.
Common Mistakes and How to Avoid Them
Starting with cold chicken leads to uneven cooking. Always bring meat to room temperature first.
Moving chicken too early prevents proper searing. Patience rewards you with better flavor and texture.
Overcrowding the pan drops the temperature and causes steaming instead of searing. Cook in batches if necessary.
Skipping the thermometer results in guesswork. Temperature, not time, determines doneness.
Cutting immediately releases all the juices. Always rest cooked meat before slicing.
Nutritional Benefits of Bone-In Chicken Breast
Beyond incredible taste, bone-in chicken breast delivers impressive nutritional value:
| Nutrient | Per 6 oz Serving | % Daily Value |
|---|---|---|
| Protein | 54g | 108% |
| Calories | 285 | 14% |
| Total Fat | 6g | 9% |
| Saturated Fat | 1.7g | 9% |
| Cholesterol | 145mg | 48% |
| Sodium | 135mg | 6% |
This lean protein source provides all essential amino acids your body needs for muscle maintenance and growth. The B-vitamin content supports energy metabolism, while selenium acts as a powerful antioxidant.
Flavor Variations to Keep Things Interesting
Mediterranean Style
Replace paprika with dried oregano and add lemon zest to your seasoning blend. Finish with a drizzle of olive tapenade and fresh basil.
Asian-Inspired Preparation
Marinate in soy sauce, fresh ginger, and garlic for 2-4 hours before cooking. Finish with sesame oil and sliced green onions.
Classic Herb Butter Method
Create compound butter by mixing softened butter with fresh parsley, thyme, and minced garlic. Place pats on the resting chicken for melted herb goodness.
Storage and Food Safety Guidelines
Raw bone-in chicken breast stays fresh in the refrigerator for 1-2 days when properly stored at 40°F or below. Keep it in the original packaging or transfer to a sealed container to prevent cross-contamination.
Cooked leftovers remain safe for 3-4 days refrigerated or up to 4 months frozen. When reheating, ensure the internal temperature reaches 165°F again for food safety.
Troubleshooting Common Issues
Uneven cooking often results from thickness variations. Pound thicker portions gently or butterfly extra-thick breasts to create uniform pieces.
Dry chicken typically means overcooking. Stick to the target temperature and don’t skip the resting period.
Tough skin indicates insufficient searing time or too low heat. Make sure your pan is properly preheated before adding the chicken.
Your Journey to Chicken Mastery Starts Now
Cooking perfect bone-in chicken breast isn’t about luck or natural talent – it’s about following proven techniques and understanding the science behind great cooking. These five steps eliminate guesswork while delivering consistently outstanding results.
The combination of proper preparation, high-heat searing, controlled oven finishing, accurate temperature monitoring, and adequate resting creates chicken that’s juicy, flavorful, and impressive enough for any occasion. Whether you’re preparing a weeknight family dinner or entertaining guests, this method guarantees success.
Ready to put these techniques into practice? Head to your kitchen armed with confidence and a meat thermometer. Your first perfectly cooked bone-in chicken breast awaits, and once you experience the difference proper technique makes, you’ll never go back to guessing games again. Share your success stories in the comments below – we’d love to hear about your cooking victories!
Have you given our recipe a try?
There are no reviews yet. Be the first one to write one.