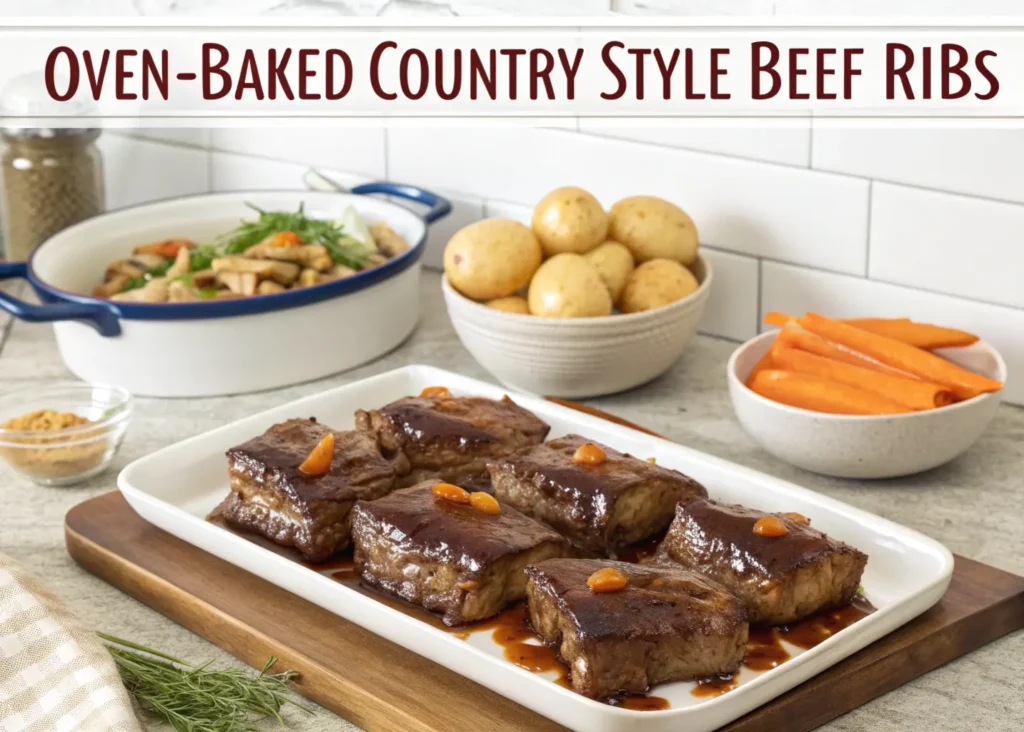
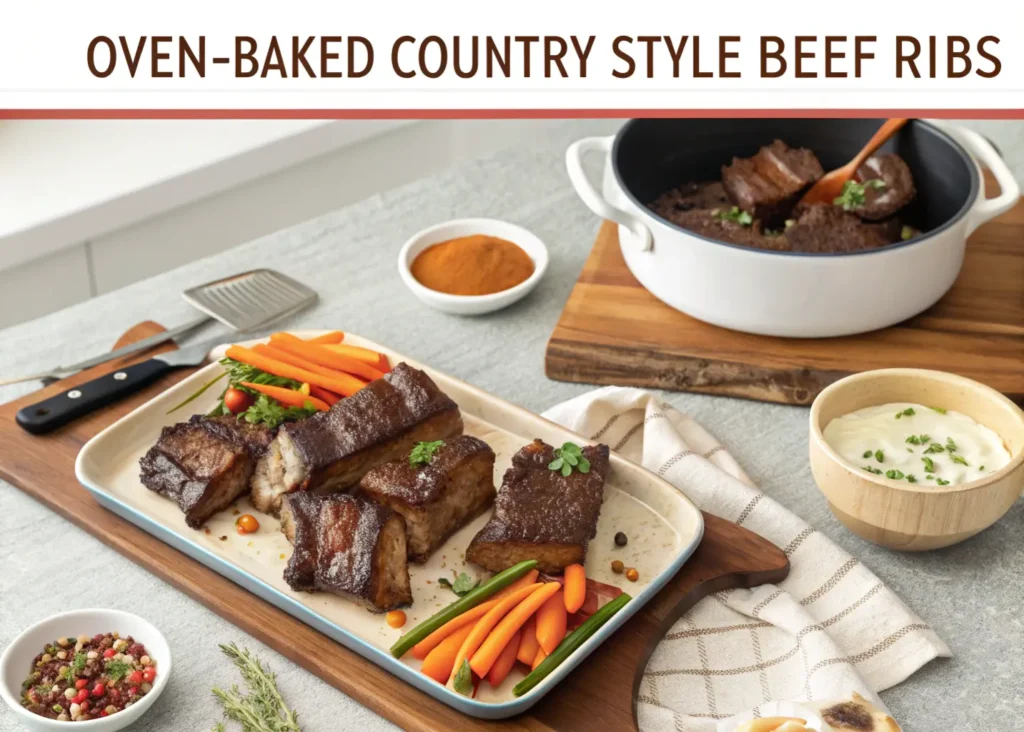
Fall-Off-The-Bone Oven-Baked Country Style Beef Ribs: Your Ultimate Step-by-Step Guide
Picture this: Sunday afternoon, your kitchen filled with the intoxicating aroma of slowly braising meat, family gathering around the table with anticipation dancing in their eyes. That magical moment when you present perfectly tender beef ribs that practically melt at first bite – this isn’t just cooking, it’s creating memories that last generations.
Your grandmother might have guarded her rib recipe like a precious heirloom, but today you’ll discover every secret to achieving restaurant-quality results in your own home oven. No expensive equipment required, no complicated techniques to master – just time-honored methods that transform ordinary ingredients into extraordinary meals.
Table of contents
Understanding Country Style Beef Ribs
What Makes Country Style Beef Ribs Special?
Country style beef ribs differ significantly from traditional rack ribs, offering you a more forgiving and flavorful cooking experience. Cut from the chuck portion of the beef, these ribs contain substantially more meat relative to bone, delivering exceptional value and satisfaction per serving.
Unlike their pork counterparts, beef ribs possess robust marbling that breaks down beautifully during slow cooking, creating natural juices that baste the meat from within. This self-basting quality makes them nearly impossible to overcook when using proper techniques.
Selecting Premium Beef Ribs
Your success begins at the butcher counter or grocery store meat department. Look for ribs exhibiting these quality indicators:
- Rich red coloring without dark spots or excessive moisture
- Visible marbling throughout the meat sections
- Fresh, clean aroma when you lean in close
- Firm texture that springs back when gently pressed
- 3-4 pounds total weight for optimal cooking consistency
Store your ribs in the refrigerator’s coldest section, using them within two days of purchase for peak freshness and flavor development.
Essential Ingredients for Perfect Results
Complete Shopping List
| Category | Ingredient | Quantity | Purpose |
|---|---|---|---|
| Main Protein | Country Style Beef Ribs | 3-4 lbs | Foundation of your dish |
| Spice Blend | Brown Sugar | 1/4 cup | Caramelization agent |
| Sweet Paprika | 2 tbsp | Color enhancement | |
| Garlic Powder | 1 tbsp | Aromatic depth | |
| Onion Powder | 1 tbsp | Savory foundation | |
| Chili Powder | 1 tbsp | Heat balance | |
| Kosher Salt | 2 tsp | Flavor amplifier | |
| Ground Black Pepper | 1 tsp | Spice complexity | |
| Liquid Elements | Apple Cider Vinegar | 1/4 cup | Meat tenderizer |
| Low-Sodium Beef Broth | 1 cup | Moisture source | |
| Worcestershire Sauce | 2 tbsp | Umami enhancement |
Smart Ingredient Substitutions
Your dietary preferences needn’t limit your enjoyment. Consider these alternatives:
- Sugar-conscious cooks: Replace brown sugar with monk fruit sweetener
- Low-sodium requirements: Use unsalted broth and reduce salt by half
- Heat-sensitive palates: Substitute sweet paprika for chili powder
- Acid alternatives: White wine vinegar works equally well as apple cider

Your Step-by-Step Cooking Journey
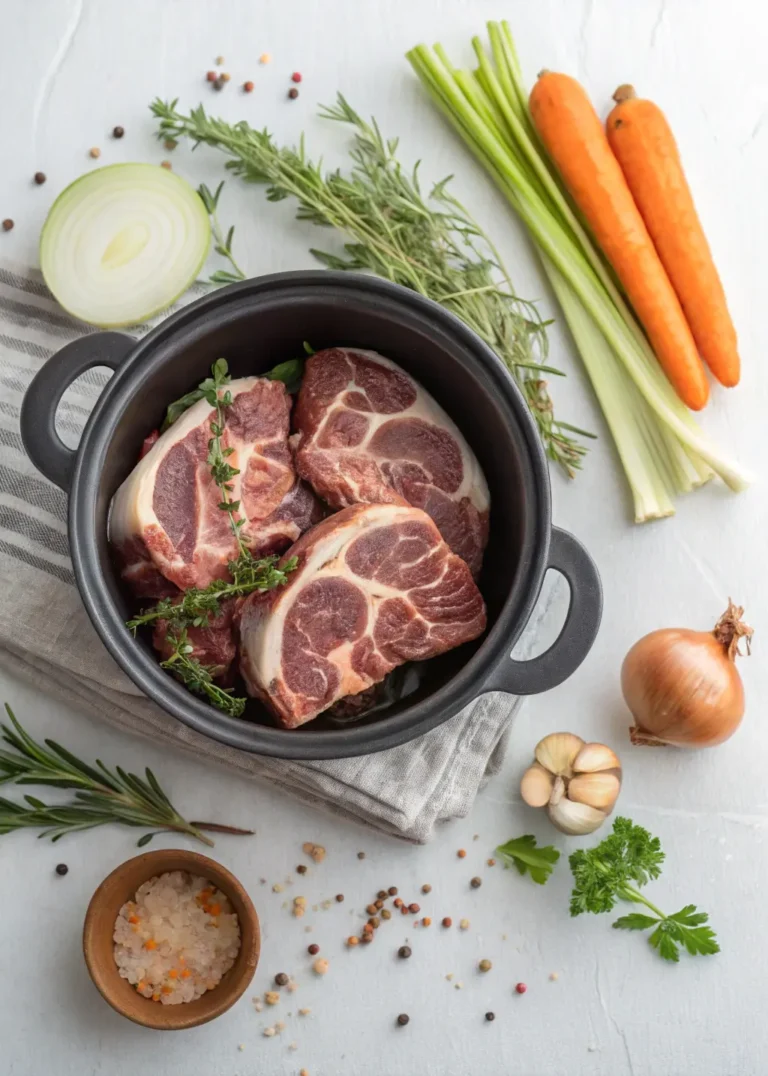
Preparation Phase (30 Minutes)
Begin by removing your ribs from refrigeration thirty minutes before cooking. This temperature equalization ensures even cooking throughout each piece. Pat the meat completely dry using paper towels – moisture prevents proper seasoning adhesion and inhibits browning.
Create your signature spice blend by combining all dry ingredients in a large mixing bowl. Whisk thoroughly, ensuring no clumps remain. The mixture should flow freely and display uniform coloring throughout.
Apply the rub generously, massaging it into every surface. Pay special attention to the meaty portions where flavors penetrate deepest. Allow the seasoned ribs to rest while you prepare your cooking vessel.
Oven Setup and Initial Cooking
Preheat your oven to 275°F, positioning the rack in the lower third. This placement protects the ribs from intense top heat while ensuring steady, surrounding warmth.
Place your seasoned ribs in a heavy-duty roasting pan or Dutch oven, arranging them bone-side down. This positioning allows the bones to act as natural racks, elevating the meat above rendered fats.
Cook uncovered for forty-five minutes, allowing the exterior to develop a beautiful caramelized crust. You’ll notice the spices darkening and the meat beginning to release aromatic compounds that signal proper browning.
The Braising Transformation
After the initial browning phase, add your liquid ingredients around (not over) the ribs. The combination of beef broth, apple cider vinegar, and Worcestershire sauce creates a flavorful braising environment that tenderizes tough connective tissues.
Cover the pan tightly with heavy-duty aluminum foil, creating a steam tent that traps moisture and heat. Reduce your oven temperature to 250°F and settle in for the magic to happen.
This phase requires patience – approximately two to three hours depending on your ribs’ thickness. Resist the temptation to peek frequently, as each opening releases precious steam and extends cooking time.
Achieving Perfect Doneness
Temperature Guidelines
| Doneness Level | Internal Temperature | Texture Result |
|---|---|---|
| Medium | 135-145°F | Slightly pink center, tender |
| Well-Done | 145°F+ | No pink, fork-tender |
| Fall-Apart | 160°F+ | Completely tender, shrinking from bones |
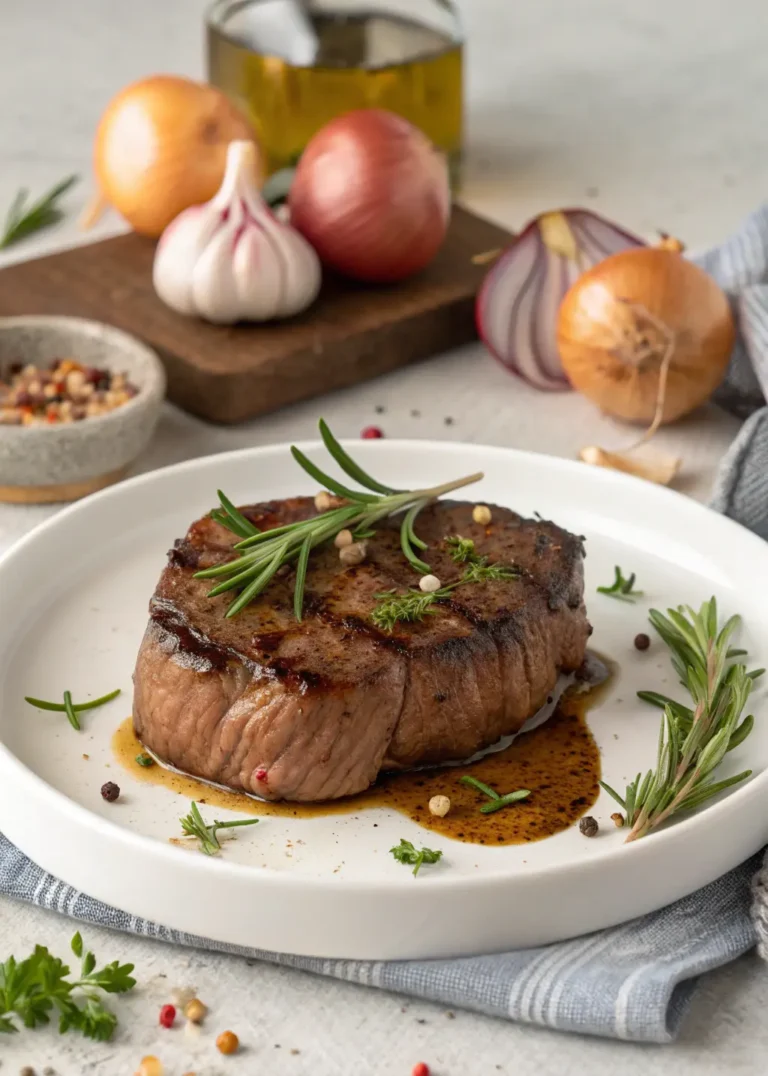
Visual Doneness Cues
Your ribs are ready when they pass the fork test – a dinner fork should slide into the thickest portion with minimal resistance. The meat will begin pulling away from the bones, and the cooking juices will run clear rather than pink.
For the final fifteen minutes, remove the foil covering and increase temperature to 300°F. This step creates a gorgeous caramelized exterior while maintaining the tender interior you’ve worked so hard to achieve.
Expert Tips for Consistent Success
Professional Techniques
Master these restaurant-quality approaches:
- The Paper Towel Method: Blot excess moisture before applying seasonings
- Bone-Down Strategy: Always position ribs with bones facing downward
- Steam Management: Maintain liquid levels throughout cooking
- Temperature Consistency: Avoid frequent oven door opening
Common Pitfalls to Avoid
Learn from others’ mistakes:
- Overcrowding: Give each rib adequate space for heat circulation
- Temperature Rushing: High heat toughens meat fibers
- Inadequate Seasoning Time: Allow spices to penetrate before cooking
- Premature Uncovering: Steam is crucial for proper tenderizing
Serving Your Masterpiece
Classic Accompaniments
Transform your beef ribs into a complete meal with these traditional pairings:
- Creamy coleslaw provides cooling contrast to rich meat
- Cornbread soaks up delicious pan juices
- Roasted root vegetables add earthy sweetness
- Tangy barbecue sauce enhances the caramelized exterior
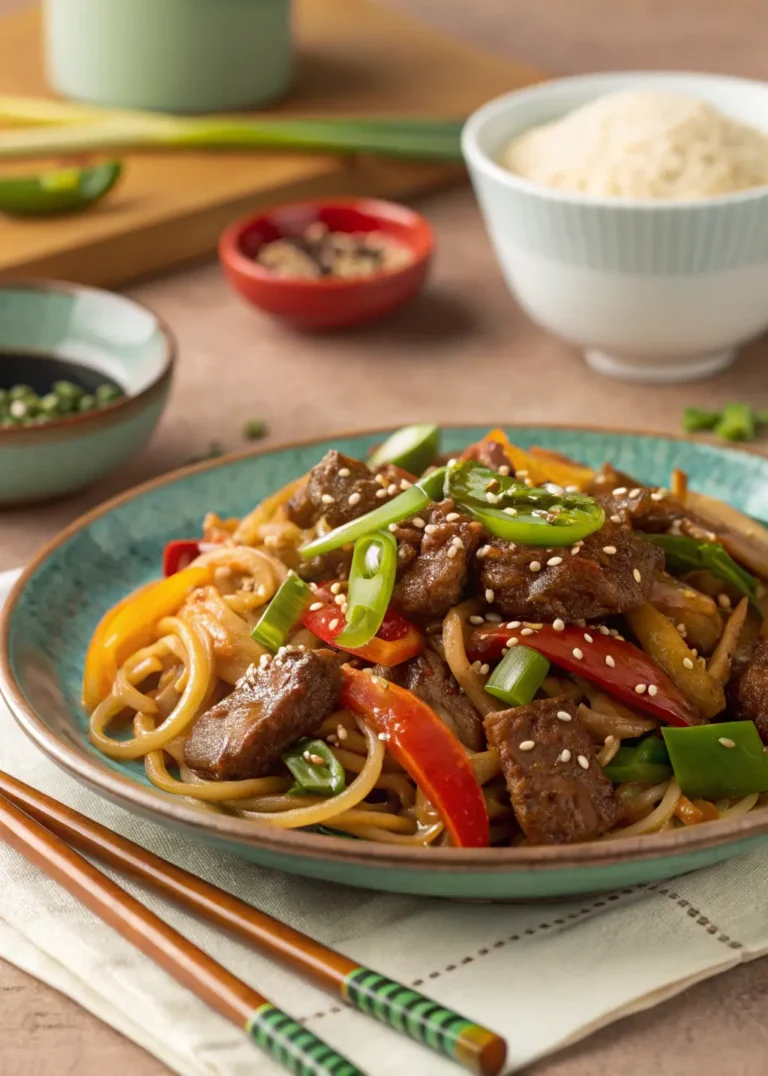
Modern Pairing Ideas
Contemporary diners appreciate these fresh combinations:
- Quinoa pilaf offers protein-rich grain balance
- Grilled asparagus contributes bright, vegetal notes
- Sweet potato wedges provide natural sweetness
- Asian-inspired slaw brings unexpected flavor dimensions
Storage and Reheating Wisdom
Proper Storage Methods
Your leftover ribs maintain quality for three to four days when refrigerated in airtight containers. For longer storage, wrap individual portions in freezer paper and freeze for up to three months.
Reheating for Best Results
Restore your ribs to their original glory using these methods:
- Oven Method (Recommended): Preheat to 250°F, add a splash of beef broth, cover with foil, and heat for 15-20 minutes
- Slow Cooker Approach: Place ribs with minimal liquid on low heat for 2-3 hours
- Stovetop Technique: Gently braise in a covered pan with added moisture
Frequently Asked Questions
How long do beef ribs take in the oven? Your beef ribs require approximately 3-4 hours total cooking time at proper temperatures for optimal tenderness.
What temperature works best for beef ribs? Maintain 275°F for initial browning, then reduce to 250°F for the braising phase to achieve perfect results.
Should I cover my beef ribs while cooking? Cover your ribs after the initial browning period to create the steam environment necessary for proper tenderizing.
Your Journey to Rib Mastery Begins Now
Mastering oven-baked country style beef ribs elevates your home cooking from ordinary to extraordinary. These techniques, refined through generations of passionate cooks, deliver consistent results that rival any barbecue restaurant.
The transformation from tough cuts to fork-tender perfection requires patience, but your investment pays dividends in flavor, satisfaction, and family memories. Each bite represents hours of careful attention, proper technique, and genuine love for the cooking process.
Ready to create your own rib masterpiece? Head to your local butcher, gather these ingredients, and embark on a culinary adventure that will have your family requesting these beef ribs for every special occasion. Share your results in the comments below – we’d love to hear about your personal touches and family reactions to these incredible ribs!
Have you given our recipe a try?
There are no reviews yet. Be the first one to write one.