How To Clean Baseboards & Keep Them Clean! A Simple Guide for a Fresher, Healthier Home
You can vacuum, mop, dust shelves, and still feel like something is “off” in your home. Then your eyes land on it—the baseboards. That thin strip along your walls quietly collects dust, pet hair, and scuff marks until one day you realize it’s been dragging down the look of your entire room.
The frustrating part is that baseboards are easy to ignore… until they aren’t. Once you notice them, you can’t unsee them.
Learning how to clean baseboards & keep them clean is one of those small home habits that instantly upgrades how your space feels—without major effort, expensive tools, or complicated routines.
Why clean baseboards make your home look instantly better
Baseboards are often overlooked because they sit low and out of direct sight. But they frame every room.
When they’re dirty, everything above them feels less clean too.
What dirty baseboards do to your space:
- Make rooms look dusty even after cleaning
- Collect allergens like dust and pet hair
- Highlight scuffs and wall marks
- Break the “freshly cleaned” illusion
Keeping them clean is a small task with a surprisingly big visual impact.
Step 1: Remove loose dust before you start cleaning
Before using any water or cleaner, you need to remove surface dust.
How you do it:
- Use a vacuum with a brush attachment
- Run a dry microfiber cloth along the baseboard
- Focus on corners where dust builds up most
This step matters because wet cleaning over dust turns it into a sticky mess that’s harder to remove.
Step 2: Use a simple, safe cleaning solution
You don’t need harsh chemicals. A gentle homemade solution works perfectly for regular cleaning.
DIY baseboard cleaning solution
| Ingredient | Purpose |
|---|---|
| Warm water | Loosens dirt |
| Dish soap | Breaks down grime |
| White vinegar | Removes light stains |
Mix lightly and avoid over-saturating your cloth. Baseboards don’t need to be soaked—they just need a proper wipe.
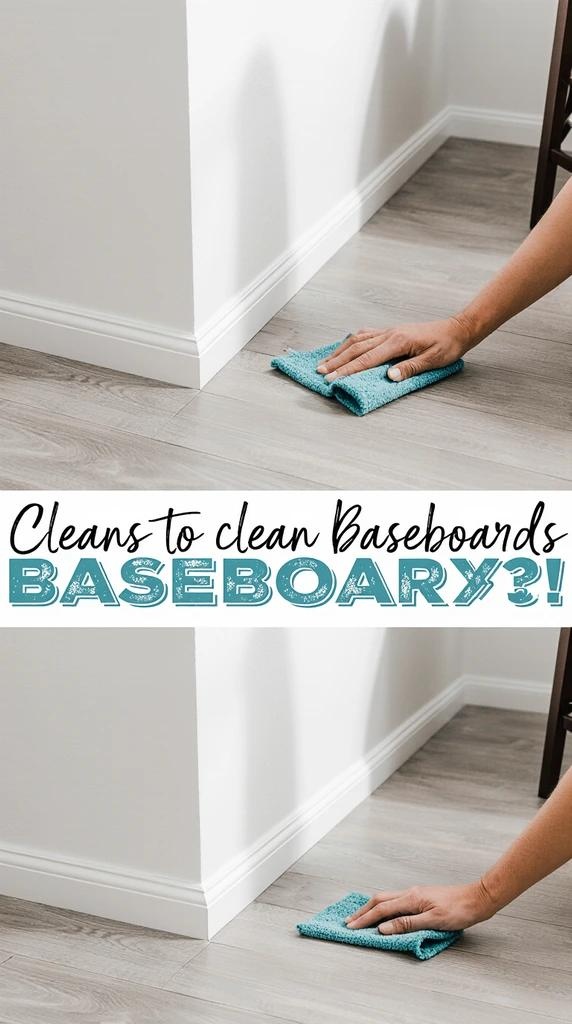
Step 3: Wipe baseboards section by section
Instead of rushing through the whole room, work in small sections.
Best method:
- Dip microfiber cloth in solution
- Wring it out well
- Wipe slowly from one end to the other
This approach ensures you don’t miss spots and keeps the process controlled.
Step 4: Focus on scuff marks and stubborn dirt
Some marks won’t come off with simple wiping. That’s normal, especially in high-traffic areas.
Tools that help:
- Magic eraser sponge
- Baking soda paste
- Soft scrubbing brush
Where you’ll find most scuffs:
- Hallways
- Near doors
- Around furniture edges
A little extra attention here makes a huge difference in appearance.
Step 5: Dry baseboards immediately after cleaning
Leaving moisture behind can cause dust to stick faster, undoing your work sooner.
What you should do:
- Use a dry microfiber cloth
- Wipe each section right after cleaning
- Check corners for leftover moisture
Drying is what keeps the finish looking clean longer.
Step 6: Add a light protective layer (optional but powerful)
If you want your baseboards to stay cleaner for longer, this step helps a lot.
Options you can use:
- Furniture polish (for wood baseboards)
- Dust-repelling sprays
- Dryer sheet wipe-down method
These create a light barrier that reduces dust buildup over time.
Simple protective care guide
| Product | Benefit |
|---|---|
| Furniture polish | Adds shine + protection |
| Dryer sheets | Reduces dust sticking |
| Microfiber cloth | Prevents scratches |
How to keep baseboards clean with minimal effort
Cleaning once is easy. Keeping them clean is where most people struggle—but it doesn’t have to be complicated.
Weekly maintenance routine
- Light dusting with a microfiber cloth
- Quick vacuum along edges
- Spot-clean visible marks immediately
Monthly deep refresh
- Full wipe-down with cleaning solution
- Scrub high-traffic areas
- Reapply protective layer if needed
Smart habits that reduce buildup naturally
- Vacuum floors regularly
- Keep furniture slightly away from walls when possible
- Use air circulation or purifiers in dusty rooms
Small habits prevent heavy cleaning later.
Common mistakes when cleaning baseboards
Even simple cleaning can go wrong if you rush it.
Avoid:
- Using too much water
- Skipping dust removal first
- Scrubbing too aggressively
- Ignoring corners and edges
- Letting them air-dry while wet
Each mistake can make baseboards look worse instead of better.
Why keeping baseboards clean improves your whole home
It’s not just about appearance—it’s about the overall feeling of your space.
Visual benefits:
- Rooms look freshly maintained
- Walls appear cleaner and brighter
- Floors feel more polished
Practical benefits:
- Less dust buildup overall
- Easier deep cleaning sessions
- Reduced allergens in the home
Baseboards quietly influence how “finished” your home feels.
FAQ: How To Clean Baseboards & Keep Them Clean!
How often should you clean baseboards?
Light cleaning once a week and deeper cleaning every 1–2 months works best.
What is the fastest way to clean baseboards?
Vacuum first, then wipe with a damp microfiber cloth.
Can I use vinegar on baseboards?
Yes, but always dilute it with water to avoid damage or strong residue.
How do I keep baseboards clean longer?
Regular dusting and applying a light protective layer helps reduce buildup.
Final thoughts
Once you understand how to clean baseboards & keep them clean, it becomes one of the simplest ways to upgrade your home’s appearance. It doesn’t require special tools or long cleaning sessions—just consistency and a clear method.
The difference is subtle at first, but powerful: cleaner edges, fresher rooms, and a home that always feels more put together.
Call to action
Pick just one room today and clean its baseboards using this method. Once you see how much fresher the space looks, you’ll naturally want to extend it to the rest of your home—and keep it that way with minimal effort.