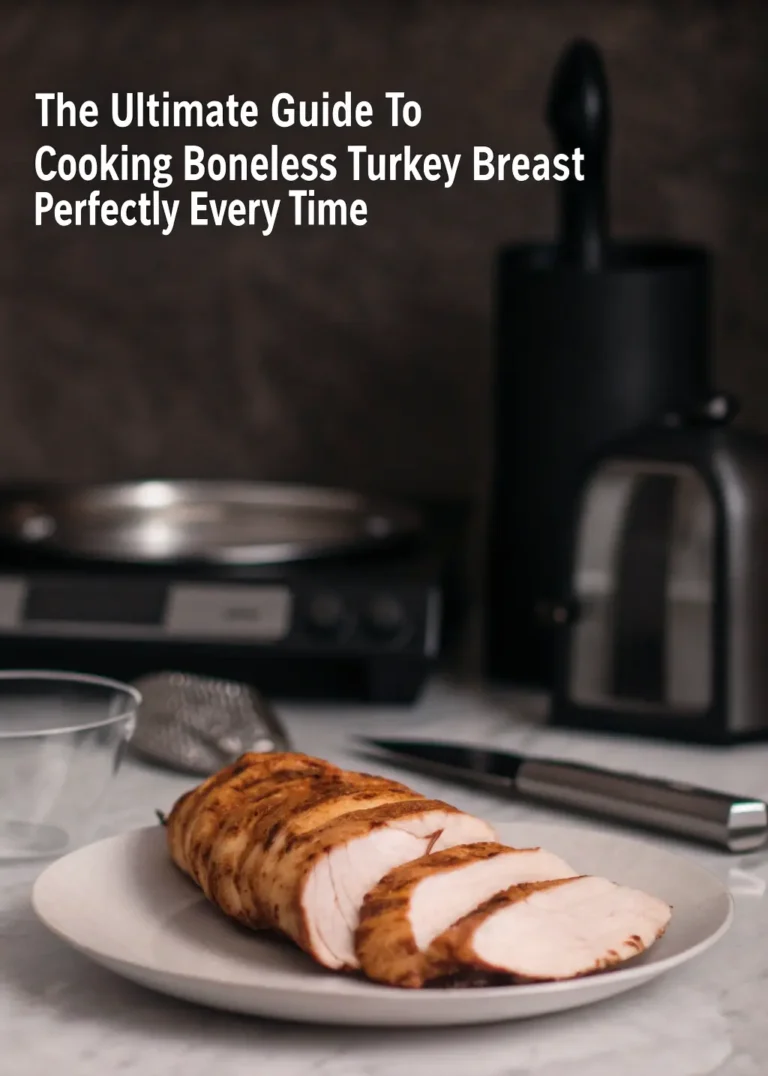
Step-by-Step Guide to Making Perfect Turkey Jerky at Home: Master the Art of Healthy Homemade Snacks
Remember the excitement of opening your lunchbox as a kid and finding that precious packet of jerky tucked inside? That perfect combination of savory, chewy goodness that made your classmates envious and turned an ordinary lunch into something special. Fast forward to today – you’re standing in the grocery store aisle, staring at overpriced jerky packages loaded with preservatives and artificial ingredients, wondering if there’s a better way.
What if I told you that the most satisfying, healthiest, and cost-effective jerky isn’t found on store shelves, but made right in your own kitchen? Making turkey jerky at home isn’t just about saving money – it’s about reclaiming control over what you and your family eat, creating memories in the kitchen, and mastering a skill that connects you to generations of food preservation traditions.
Throughout this comprehensive guide, you’ll discover how to transform simple turkey breast into premium jerky that rivals any commercial brand. Whether you’re a fitness enthusiast seeking clean protein, a parent wanting healthier snacks for your kids, or simply someone who appreciates the satisfaction of creating something delicious from scratch, this step-by-step journey will make you a turkey jerky expert.
Table of contents
Why Choose Turkey Jerky Over Store-Bought Alternatives
Health Benefits of Homemade Turkey Jerky
Creating turkey jerky in your own kitchen provides unmatched control over nutritional content and ingredient quality. Commercial jerky often contains excessive sodium levels, sometimes exceeding 600mg per ounce, while your homemade version allows you to customize salt content to your health requirements.
Turkey naturally contains less fat than beef, making it an ideal choice for health-conscious individuals. Each ounce of properly prepared turkey jerky delivers 28-30 grams of high-quality protein while maintaining only 1-2 grams of fat content. This exceptional protein-to-fat ratio supports muscle development, weight management goals, and sustained energy levels throughout your day.
Unlike mass-produced alternatives filled with artificial preservatives, nitrates, and MSG, your homemade turkey jerky contains only ingredients you recognize and approve. This transparency becomes particularly important for families managing food allergies, dietary restrictions, or simply preferring clean eating approaches.
Cost-Effectiveness Analysis
The financial advantages of homemade turkey jerky become immediately apparent when you compare production costs with retail prices. Premium commercial jerky typically costs $5-8 per ounce, while your homemade equivalent requires approximately $1.50-2.25 per ounce in materials.
Consider this breakdown: purchasing two pounds of turkey breast for $8-12, combined with $2-3 in seasonings and minimal energy costs, produces roughly 8 ounces of finished jerky. The equivalent amount of store-bought premium jerky would cost $40-60, representing savings of 60-70% through home production.
These savings compound significantly for active families who consume jerky regularly as snacks, post-workout protein, or outdoor adventure provisions. The initial equipment investment pays for itself within months of regular production.
Essential Equipment for Making Turkey Jerky at Home
Dehydrator vs. Oven Method
Your equipment choice significantly impacts both convenience and final product quality. Food dehydrators designed specifically for jerky production offer superior temperature control, air circulation, and energy efficiency compared to conventional oven methods.
Top Dehydrator Recommendations: • Excalibur 9-Tray Dehydrator: Professional-grade performance with precise temperature control and generous capacity for large batches • Nesco Gardenmaster Pro: Mid-range option balancing features with affordability, perfect for regular home use • Presto Dehydro Electric: Budget-friendly choice that delivers reliable results for occasional jerky makers • Cosori Premium Food Dehydrator: Modern design with digital controls and preset programs
For those preferring oven dehydration, success requires maintaining consistent low temperatures (170°F or lower) while ensuring adequate air circulation. Prop your oven door slightly open and use wire cooling racks positioned over baking sheets to elevate strips for optimal airflow.
Preparation Tools and Accessories
Proper preparation tools ensure consistent results and food safety throughout your jerky-making process. A sharp fillet knife or electric meat slicer enables uniform slice thickness, crucial for even dehydration. Invest in a dedicated cutting board for raw meat preparation to prevent cross-contamination.
Essential Tool Checklist:
- Sharp fillet knife or electric slicer for consistent cuts
- Large cutting board dedicated to meat preparation
- Digital kitchen scale for precise measurements
- Stainless steel mixing bowls for marinades
- Instant-read thermometer for safety verification
- Food-grade storage containers for finished products
Selecting and Preparing the Perfect Turkey for Jerky
Best Turkey Cuts for Jerky Making
Your cut selection dramatically influences final texture, flavor, and preparation difficulty. Turkey breast remains the most popular choice due to its lean composition, mild flavor, and beginner-friendly characteristics.
Turkey Cut Comparison:
| Cut Type | Fat Content | Flavor Profile | Difficulty Level | Best Applications |
|---|---|---|---|---|
| Turkey Breast | Very Low | Mild, clean | Beginner | Classic jerky styles |
| Turkey Thigh | Moderate | Rich, robust | Intermediate | Gourmet preparations |
| Turkey Tenderloin | Low | Tender, subtle | Beginner | Quick small batches |
| Whole Turkey Breast | Very Low | Consistent | Advanced | Large batch production |
Fresh turkey typically produces superior results compared to previously frozen options, though partially frozen turkey offers advantages during slicing. Allow frozen turkey to thaw for 30-60 minutes until firm but cuttable – this consistency enables precise, uniform slicing.
Proper Turkey Preparation Techniques
Meticulous preparation ensures food safety and optimal texture in your finished jerky. Begin by removing all visible fat, silver skin, and any remaining bone fragments from your turkey selection. Fat content prevents proper preservation and creates rancidity risks during storage.
Preparation Steps:
- Trim all visible fat and connective tissue completely
- Pat turkey dry using paper towels to remove surface moisture
- Inspect carefully for bone fragments or cartilage pieces
- Sanitize all work surfaces and preparation tools thoroughly
Slicing technique significantly impacts your jerky’s final texture and appearance. Cut against the grain for tender jerky or with the grain for chewier results. Maintain consistent thickness between 1/8 and 1/4 inch – thinner slices dehydrate faster while thicker pieces require extended processing time.
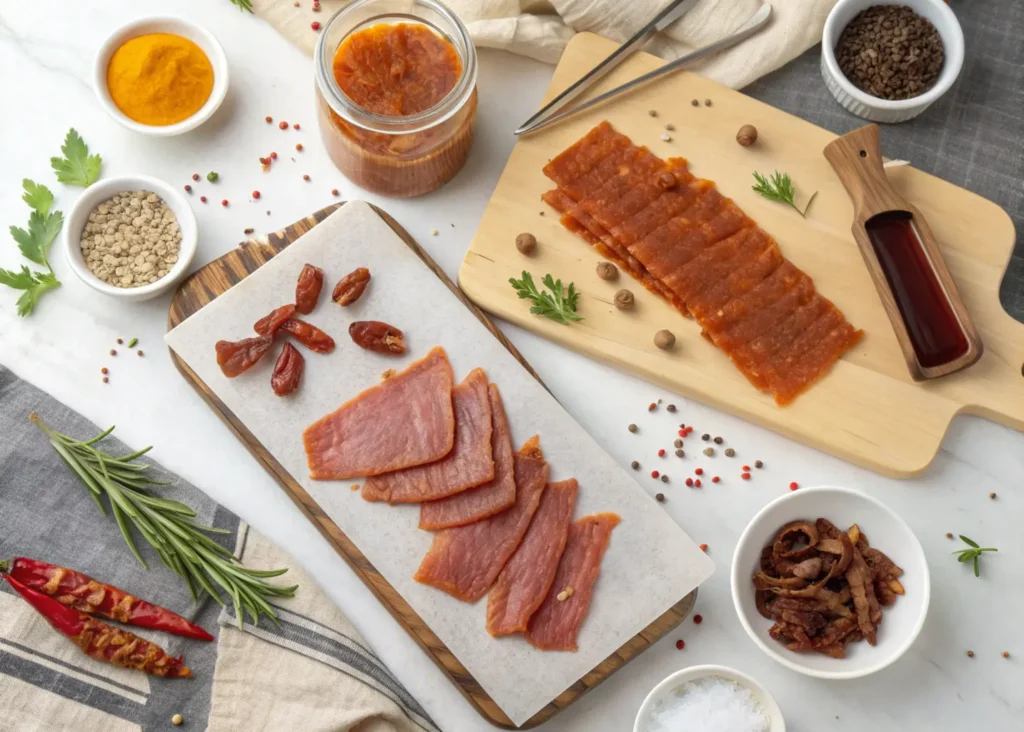
Essential Turkey Jerky Marinades and Seasonings
Classic Turkey Jerky Marinade Recipes
Your marinade selection determines flavor profile, tenderness, and preservation effectiveness. Traditional teriyaki combinations provide balanced sweetness, saltiness, and aromatic complexity that complements turkey’s mild character perfectly.
Traditional Teriyaki Turkey Jerky Marinade:
| Ingredient | Quantity | Purpose | Substitution Options |
|---|---|---|---|
| Soy sauce | 1/2 cup | Base flavor, preservation | Coconut aminos, tamari |
| Brown sugar | 1/4 cup | Sweetness, caramelization | Honey, maple syrup |
| Fresh ginger | 2 tablespoons | Aromatic heat | Ground ginger (1 tsp) |
| Garlic powder | 1 tablespoon | Savory depth | Fresh minced garlic |
| Black pepper | 1 teaspoon | Mild heat | White pepper |
| Pineapple juice | 2 tablespoons | Natural tenderizer | Apple cider vinegar |
Marinating duration affects flavor penetration and texture development. Minimum marinating time spans 4 hours, while overnight marination (12-24 hours) produces deeper flavor integration. Avoid extended marinating beyond 24 hours, as acids can over-tenderize turkey, creating mushy textures.
Spicy Cajun Turkey Jerky Seasoning:
| Component | Amount | Heat Level | Flavor Notes |
|---|---|---|---|
| Paprika | 2 tablespoons | Mild | Sweet, smoky base |
| Cayenne pepper | 1-2 teaspoons | Hot | Adjustable heat level |
| Garlic powder | 1 tablespoon | None | Essential foundation |
| Onion powder | 1 tablespoon | None | Aromatic depth |
| Oregano | 1 teaspoon | None | Herbal complexity |
| Thyme | 1 teaspoon | None | Earthy undertones |
| Salt | 2 teaspoons | None | Preservation, flavor |
| Black pepper | 1 teaspoon | Mild | Fresh-ground preferred |
Healthy and Diet-Specific Marinades
Modern dietary requirements demand flexible marinade formulations that accommodate various nutritional approaches. Keto-friendly versions eliminate sugars while increasing healthy fat content through olive oil or avocado oil additions.
Specialized Marinade Adaptations: • Keto-Friendly: Replace sugars with stevia or erythritol, increase oil content • Paleo-Compliant: Use coconut aminos instead of soy sauce, honey for sweetness • Low-Sodium: Emphasize herbs, spices, and citrus acids over salt content • Anti-Inflammatory: Incorporate turmeric, ginger, and omega-3 rich oils
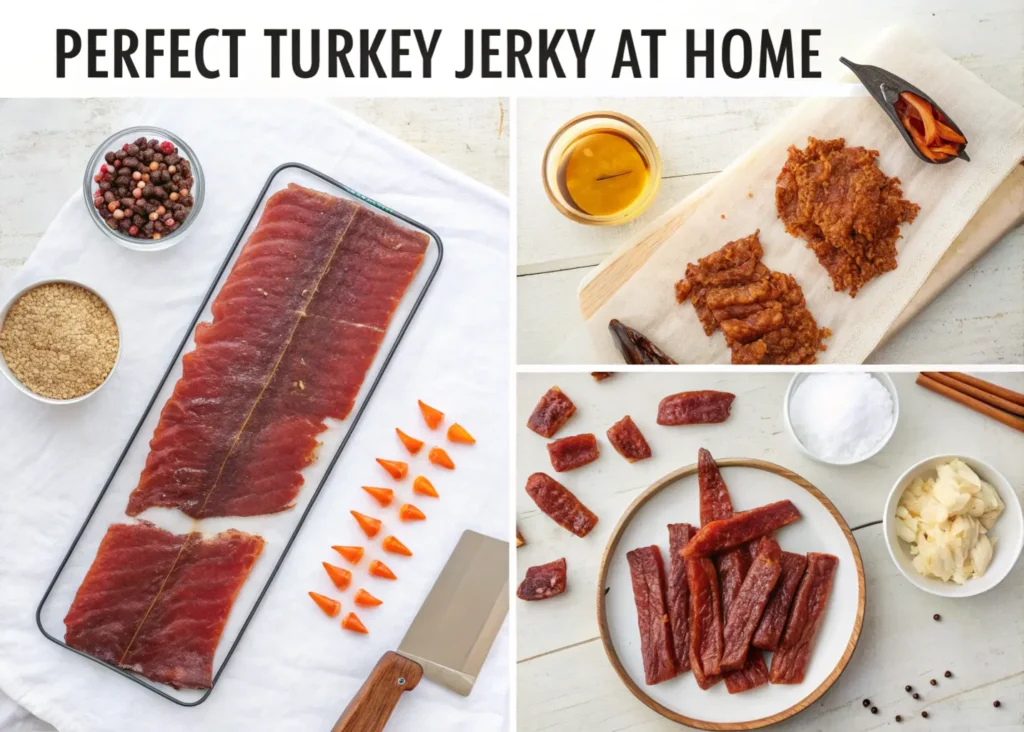
Step-by-Step Turkey Jerky Making Process
Pre-Dehydration Preparation
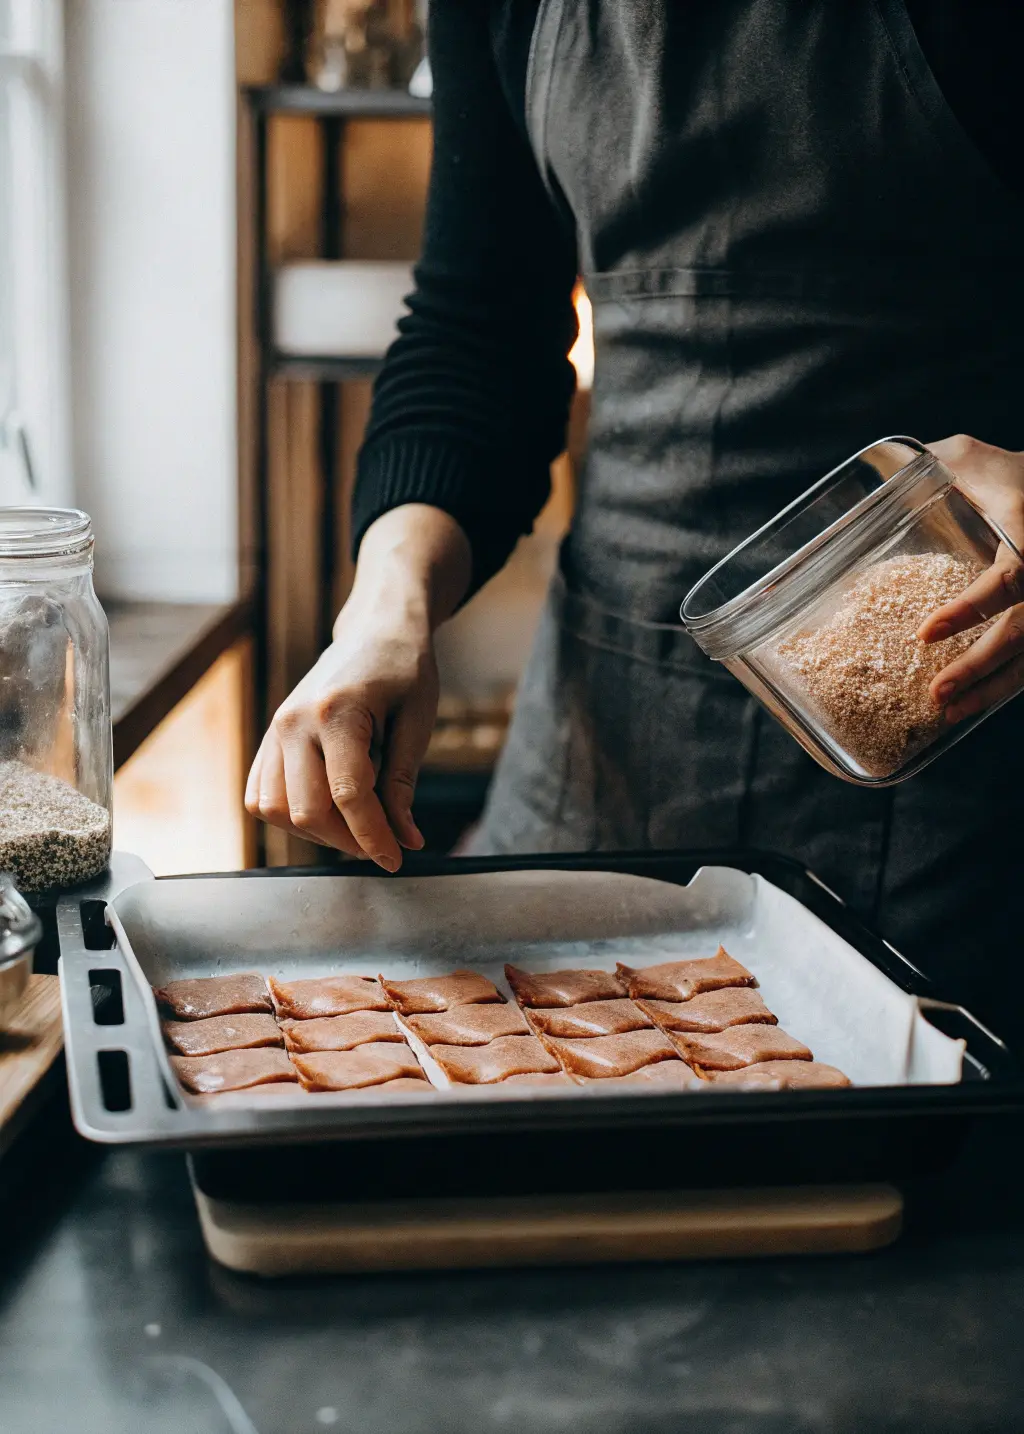
Successful jerky production requires methodical preparation and attention to food safety protocols. Begin by combining your chosen marinade ingredients in non-reactive bowls – stainless steel or glass prevents chemical interactions that could affect flavor.
Marinating Process:
- Combine all marinade ingredients, whisking thoroughly for uniform distribution
- Add sliced turkey pieces, ensuring complete coverage of all surfaces
- Transfer to sealed containers or food-grade plastic bags for refrigeration
- Refrigerate for 4-24 hours, turning occasionally for even flavor distribution
- Remove turkey 30 minutes before dehydrating, allowing excess marinade to drain
Equipment preparation ensures consistent results and prevents contamination. Clean and sanitize your dehydrator thoroughly, check temperature calibration accuracy, and arrange trays for optimal air circulation patterns.
Dehydration Methods and Timing
Temperature control represents the most critical factor in producing safe, high-quality turkey jerky. Food safety guidelines require initial temperatures of 160°F to eliminate potential pathogens, followed by reduced temperatures for optimal texture development.
Dehydrator Method Guidelines:
| Turkey Thickness | Initial Temp | Processing Temp | Total Time Range |
|---|---|---|---|
| 1/8 inch | 160°F | 145°F | 4-6 hours |
| 1/4 inch | 160°F | 155°F | 6-8 hours |
| 3/8 inch | 160°F | 160°F | 8-12 hours |
Dehydration Process Steps:
- Arrange turkey strips on dehydrator trays with adequate spacing for air circulation
- Begin at 160°F for initial 2 hours to ensure food safety compliance
- Reduce temperature according to thickness requirements for remaining time
- Rotate tray positions every 2-3 hours for uniform dehydration
- Check progress regularly, removing pieces as they reach desired texture
- Test doneness using the bend method – properly dried jerky cracks but doesn’t break
Testing for Doneness and Quality Control
Determining proper doneness requires multiple evaluation methods to ensure both safety and quality. The traditional bend test remains the most reliable indicator – correctly dried jerky should crack when bent but maintain structural integrity without breaking completely.
Visual indicators include dark, leathery appearance with no visible moisture beads when pieces are squeezed gently. Internal temperature verification ensures food safety, with all pieces reaching 160°F during the initial dehydration phase.
Quality Assessment Checklist: • Consistent texture across all pieces in the batch • Uniform dark coloration without burnt or light spots • No moisture beads when gently squeezed • Appropriate flexibility without brittleness or softness • Pleasant aroma without any off-odors
Proper Storage and Shelf Life of Homemade Turkey Jerky
Immediate Post-Production Handling
Proper cooling and conditioning immediately following dehydration significantly impacts final product quality and storage longevity. Allow finished jerky to cool completely at room temperature before packaging, preventing condensation that could compromise preservation.
Inspect each piece carefully, removing any sections that appear under-dried or over-processed. Inconsistent drying creates spoilage risks and affects overall batch quality during storage periods.
Storage Methods and Containers
Your storage approach determines shelf life, flavor retention, and food safety outcomes. Short-term storage (1-2 weeks) succeeds with airtight glass jars, vacuum-sealed bags, or food-grade plastic containers with tight-fitting lids.
Storage Duration Guidelines:
| Storage Method | Room Temperature | Refrigerated | Frozen |
|---|---|---|---|
| Regular airtight container | 1-2 weeks | 1-2 months | 6 months |
| Vacuum sealed | 2-3 weeks | 3-4 months | 1 year |
| With oxygen absorbers | 3-4 weeks | 4-6 months | 1+ years |
Long-term storage requires vacuum sealing combined with oxygen absorber packets for maximum preservation effectiveness. Portion jerky into serving-sized packages before vacuum sealing, preventing repeated exposure to air during consumption periods.
Troubleshooting Common Turkey Jerky Problems
Texture Issues and Solutions
Texture problems typically stem from processing temperature, timing, or preparation mistakes. Overly tough jerky results from excessive dehydration time or temperatures, while soft or moist textures indicate insufficient processing.
Common Texture Problems: • Too Tough: Reduce dehydration time, lower temperature, or improve marinating techniques • Too Soft: Extend drying time, increase temperature slightly, or check humidity levels • Uneven Texture: Ensure consistent slicing thickness and rotate trays regularly • Brittle Breaking: Reduce processing time or temperature for future batches
Flavor and Appearance Problems
Flavor issues often relate to marinade balance, ingredient quality, or processing techniques. Bland results suggest insufficient marinating time or inadequate seasoning levels, while overly salty outcomes indicate marinade concentration problems.
Flavor Troubleshooting:
- Underseasoned: Increase marinating time or seasoning concentrations
- Too Salty: Dilute marinades or reduce salt content in future batches
- Bitter Flavors: Check spice freshness and avoid over-processing
- Uneven Seasoning: Ensure thorough mixing and complete coverage during marinating
Advanced Turkey Jerky Techniques and Variations
Smoking Turkey Jerky for Enhanced Flavor
Combining smoking techniques with traditional dehydration creates complex flavor profiles impossible to achieve through standard methods. Cold smoking (80-90°F) imparts smoky characteristics without cooking, while hot smoking (225-250°F) reduces overall processing time.
Wood Selection for Turkey Jerky: • Apple: Mild, sweet smoke perfect for delicate turkey flavors • Cherry: Fruity notes that complement sweet marinades beautifully • Hickory: Strong, bacon-like smoke for robust flavor preferences • Maple: Subtle sweetness that enhances teriyaki-style preparations
International Flavor Profiles
Expanding beyond traditional American jerky styles opens countless flavor possibilities inspired by global cuisines. Korean-style preparations featuring gochujang create spicy-sweet profiles, while Mediterranean versions emphasize herbs, olive oil, and citrus elements.
Global Jerky Variations:
- Korean-Style: Gochujang, sesame oil, rice vinegar, and garlic combinations
- Mediterranean: Olive oil, lemon zest, oregano, and sun-dried tomato elements
- Indian-Inspired: Curry powder, turmeric, garam masala, and yogurt bases
- Mexican: Chili powder, lime juice, cumin, and chipotle pepper blends
Nutritional Benefits and Dietary Considerations
Turkey Jerky Nutritional Profile
Homemade turkey jerky provides exceptional nutritional density, delivering concentrated protein with minimal fat and carbohydrate content. Each ounce contains 28-30 grams of complete protein, supporting muscle maintenance, recovery, and satiety goals effectively.
Nutritional Comparison Per Ounce:
| Nutrient | Homemade Turkey Jerky | Commercial Beef Jerky | Fresh Turkey Breast |
|---|---|---|---|
| Protein | 28-30g | 11-15g | 8g |
| Fat | 1-2g | 3-7g | 1g |
| Sodium | 200-400mg | 400-600mg | 25mg |
| Calories | 80-100 | 80-120 | 35 |
| Carbohydrates | 2-4g | 3-6g | 0g |
Diet-Specific Adaptations
Modern dietary approaches benefit significantly from customizable jerky preparations. Ketogenic dieters appreciate high-protein, moderate-fat options achieved through added oils or nuts. Paleo followers avoid processed sugars while emphasizing natural sweeteners and whole-food ingredients.
Dietary Modifications: • Keto-Friendly: Increase healthy fats, eliminate sugars, focus on savory profiles • Paleo-Compliant: Use coconut aminos, natural sweeteners, avoid processed ingredients • Low-Sodium: Emphasize herbs, spices, and acid-based flavor development • Gluten-Free: Verify all ingredients, use tamari instead of soy sauce
Cost Analysis and Budget-Friendly Tips
Economic Comparison Breakdown
Financial analysis reveals substantial savings potential through home jerky production. Commercial premium jerky costs average $6-8 per ounce, while homemade equivalents require approximately $1.75-2.50 in materials per ounce.
Cost Per Batch Analysis:
| Expense Category | Homemade Cost | Store-Bought Equivalent |
|---|---|---|
| Turkey (2 lbs) | $8-12 | $40-60 (jerky equivalent) |
| Seasonings/Marinades | $2-3 | Included |
| Energy Costs | $1-2 | N/A |
| Total Investment | $11-17 | $40-60 |
| Cost Per Ounce | $1.50-2.25 | $5-8 |
Money-Saving Strategies
Strategic purchasing and preparation techniques maximize savings while maintaining quality standards. Purchase turkey during seasonal sales, particularly around holidays when prices drop significantly. Bulk seasoning purchases reduce per-batch costs substantially.
Budget Optimization Techniques:
- Buy turkey in bulk during promotional periods
- Purchase spices from wholesale suppliers or ethnic markets
- Invest in quality equipment for long-term savings
- Coordinate with friends or family for group purchases
- Utilize seasonal ingredients when prices peak favorably
Conclusion
Mastering homemade turkey jerky transforms from intimidating challenge into rewarding culinary skill through proper technique, quality ingredients, and patient practice. You’ve discovered the complete roadmap to producing jerky that surpasses commercial alternatives in taste, nutrition, and economic value.
This journey from selecting premium turkey cuts to achieving perfect chewy texture represents more than simple food preparation – it embodies taking control of your family’s nutrition, creating lasting kitchen memories, and developing skills that connect you to traditional food preservation wisdom.
Whether health consciousness, budget considerations, or pure satisfaction of creating exceptional homemade products motivates your interest, turkey jerky delivers outstanding results across all categories. Your initial equipment investment and time spent mastering fundamental techniques provides years of delicious, preservative-free snacking options.
Begin with the classic teriyaki preparation, master essential techniques, then explore creative variations matching your family’s taste preferences. Soon, you’ll anticipate jerky-making sessions while sharing your creations with amazed friends and family members who’ll marvel at your newfound culinary expertise.
Ready to start your turkey jerky journey? Gather your ingredients this weekend and experience the satisfaction of creating premium jerky that puts store-bought alternatives to shame. Your taste buds – and wallet – will thank you for making this delicious switch to homemade excellence.
Have you given our recipe a try?
There are no reviews yet. Be the first one to write one.