The Ultimate Chicken Parm Sandwich: Your Complete Step-by-Step Guide to Restaurant-Quality Results at Home
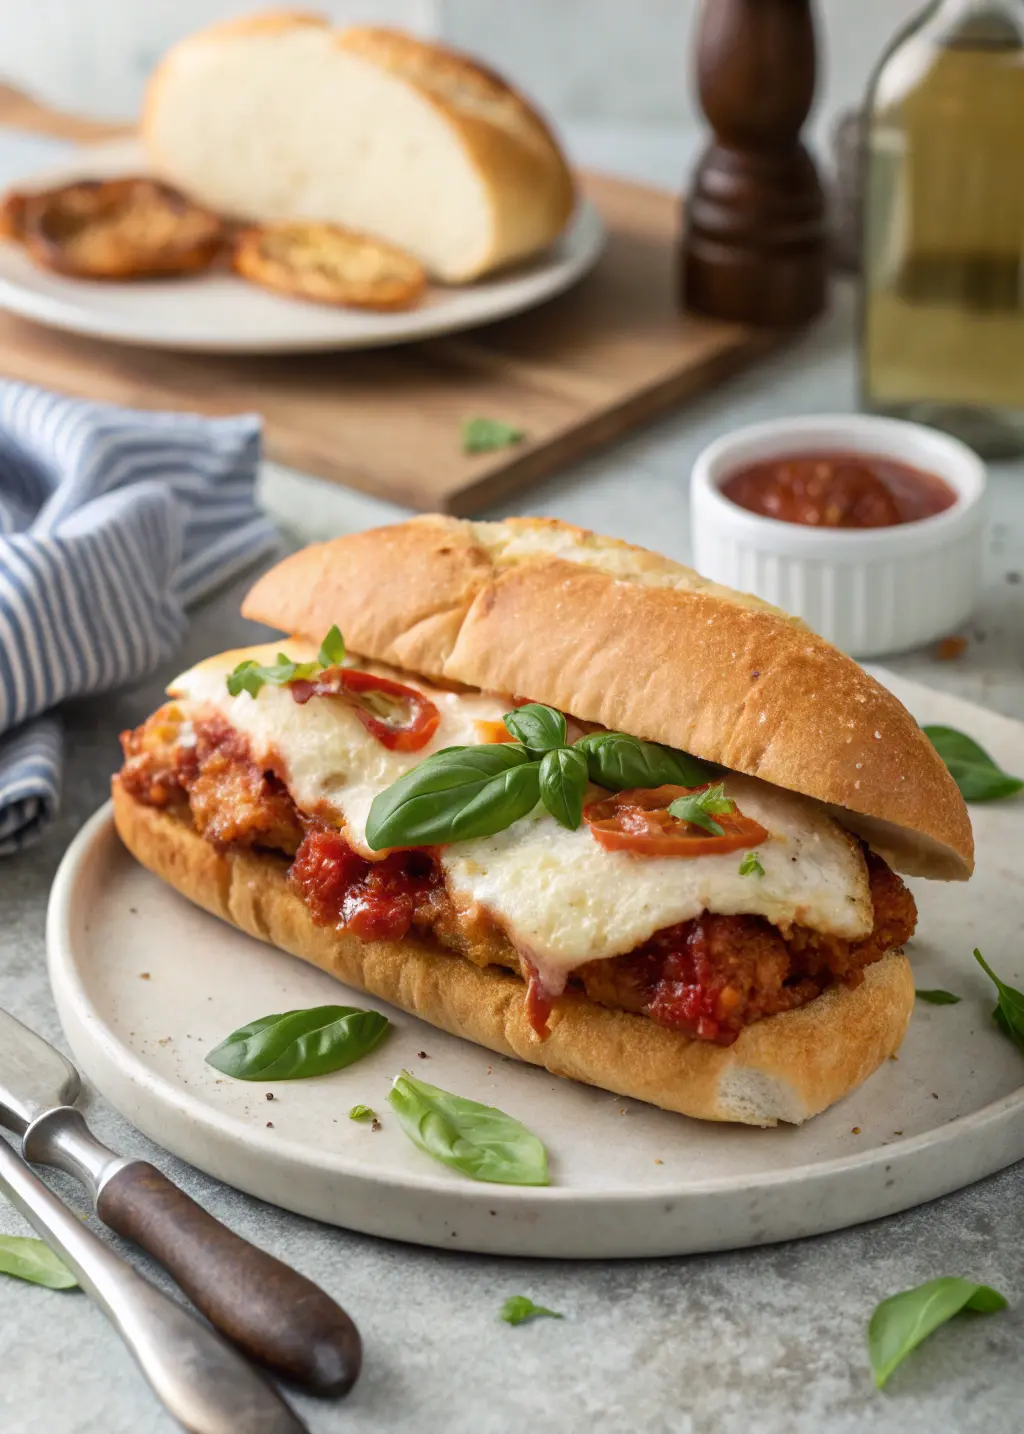
Picture this: You’re sitting in your favorite Italian-American restaurant, and that first bite of their legendary chicken parm sandwich hits your taste buds. The crispy, golden coating gives way to tender, juicy chicken, while melted mozzarella stretches in perfect strings, and tangy marinara sauce bursts with flavor. Now imagine recreating that exact moment in your own kitchen, whenever the craving strikes. That’s not just a dream – it’s exactly what you’ll achieve with this comprehensive guide to making the ultimate chicken parm sandwich at home.
Table of contents
What Makes the Perfect Chicken Parm Sandwich?
The foundation of an exceptional chicken parm sandwich lies in understanding the delicate balance between textures and flavors. You need that satisfying crunch from properly breaded chicken, contrasted by the tender meat within. The marinara sauce should provide bright acidity that cuts through the richness, while the melted cheese binds everything together in creamy harmony.
Many home cooks struggle with achieving restaurant-quality results because they rush the process or skip crucial steps. Professional kitchens succeed because they understand timing, temperature control, and the science behind each component working together.
Essential Ingredients for Your Chicken Parm Sandwich
Main Ingredients
| Component | Ingredient | Quantity | Notes |
|---|---|---|---|
| Protein | Boneless chicken breast | 2 large (6-8 oz each) | Pound to ½ inch thickness |
| Breading | All-purpose flour | ½ cup | For dredging |
| Large eggs | 2 | Room temperature | |
| Panko breadcrumbs | 1½ cups | Creates superior crunch | |
| Parmesan cheese (grated) | ½ cup | Fresh preferred | |
| Sauce | Marinara sauce | 1 cup | Store-bought or homemade |
| Cheese | Fresh mozzarella | 6 oz | Low-moisture for less soggy results |
| Additional Parmesan | ¼ cup | For topping | |
| Bread | Italian sub rolls | 2 large | Or ciabatta/hoagie rolls |
| Oil | Vegetable or canola oil | 2 cups | For frying |
Enhancement Ingredients
Consider these optional additions to elevate your sandwich:
- Fresh basil leaves for aromatic freshness
- Garlic powder mixed into breadcrumbs
- Italian seasoning for authentic flavor depth
- Red pepper flakes for subtle heat
- Provolone cheese as mozzarella alternative
Preparing the Perfect Chicken for Your Parm Sandwich
Selecting and Preparing Your Chicken
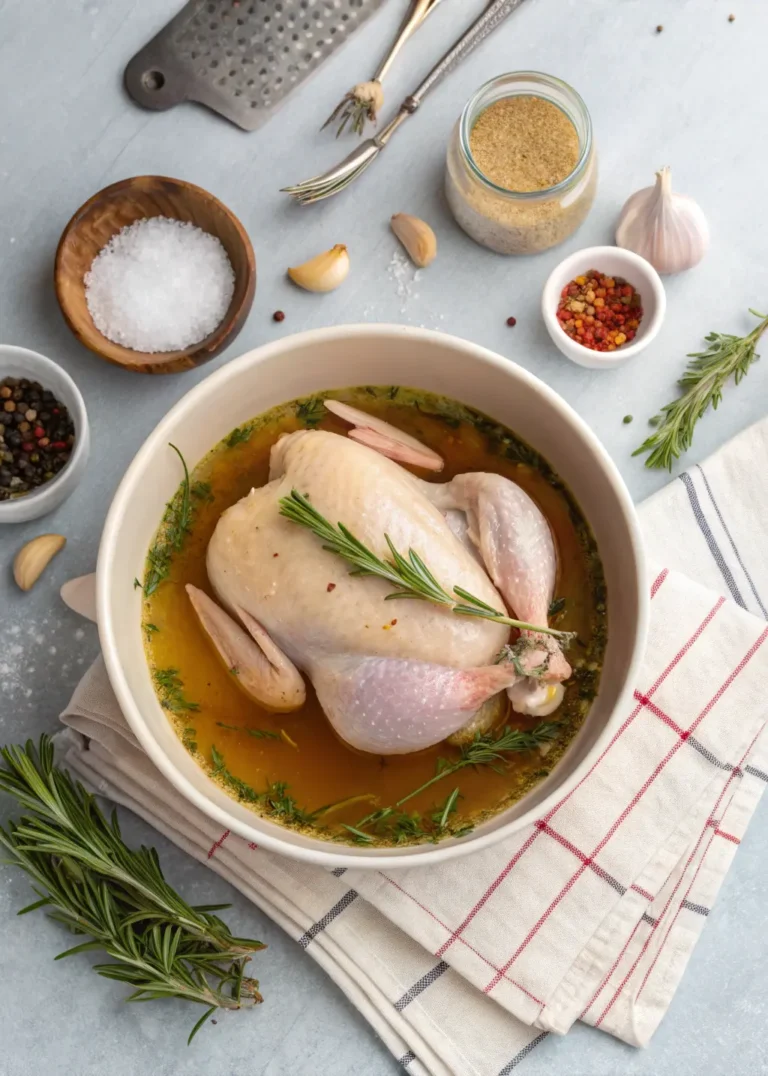
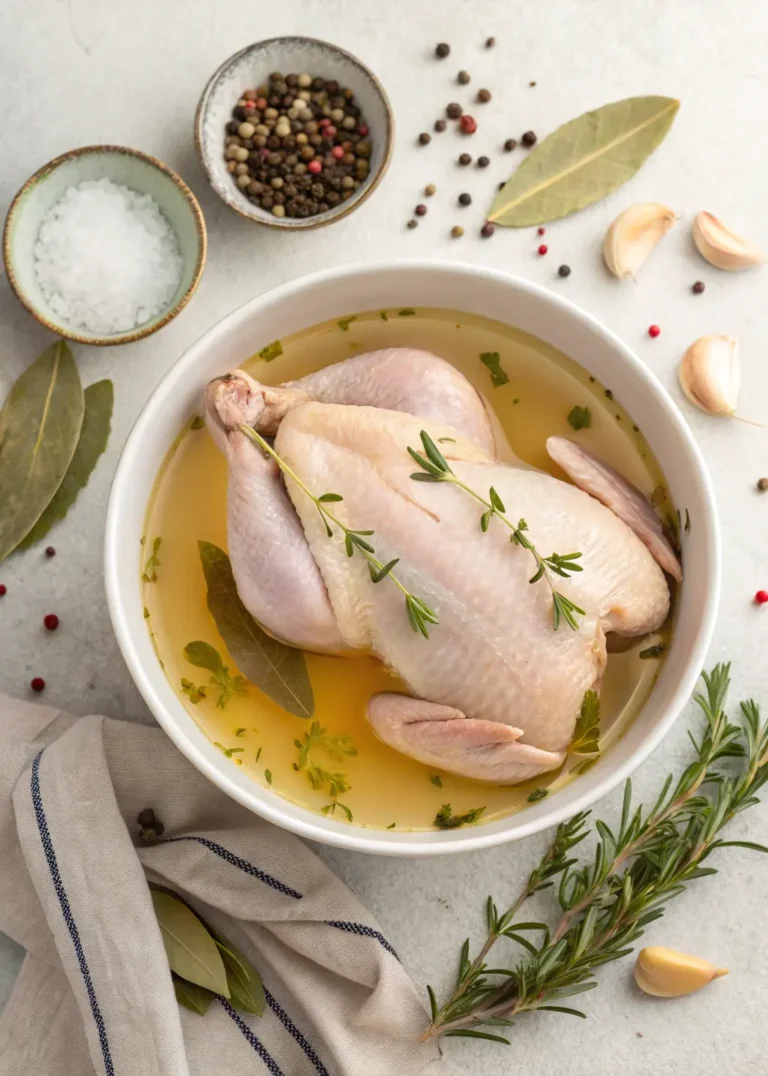
Start with high-quality boneless, skinless chicken breasts. You’ll want pieces that are roughly the same size for even cooking. Place each breast between plastic wrap or parchment paper, then gently pound to an even ½-inch thickness using a meat mallet or rolling pin.
This step is crucial – uneven thickness leads to overcooked edges and undercooked centers. Take your time here, as proper preparation determines your final results.
Season both sides generously with salt and freshly ground black pepper. Allow the seasoned chicken to rest at room temperature for 15-20 minutes. This brief resting period allows the salt to penetrate the meat, enhancing flavor throughout.
Mastering the Three-Stage Breading Process
Setting Up Your Breading Station
Arrange three shallow dishes in a row:
- First dish: All-purpose flour seasoned with salt and pepper
- Second dish: Beaten eggs with a splash of water
- Third dish: Mix of panko breadcrumbs and grated Parmesan cheese
This assembly line approach ensures efficiency and prevents cross-contamination between stations.
The Professional Breading Technique
Follow this sequence for maximum coating adherence:
- Flour dredging: Lightly coat each piece, shaking off excess
- Egg wash: Ensure complete coverage, allowing excess to drip off
- Breadcrumb coating: Press gently but firmly, creating an even layer
- Rest period: Place breaded chicken on a wire rack for 10 minutes
This resting phase allows the coating to set, reducing the likelihood of it falling off during cooking.
Frying Your Chicken Parm to Golden Perfection
Temperature Control is Everything
Heat your oil to 350-375°F in a heavy-bottomed skillet or Dutch oven. You’ll need about 2 inches of oil depth for proper frying. If you don’t have a thermometer, test readiness by dropping a small piece of breadcrumb into the oil – it should sizzle immediately and float to the surface.
Step-by-Step Frying Process
- Gentle placement: Lower chicken carefully into oil to prevent splashing
- Cook timing: Fry for 3-4 minutes on the first side without moving
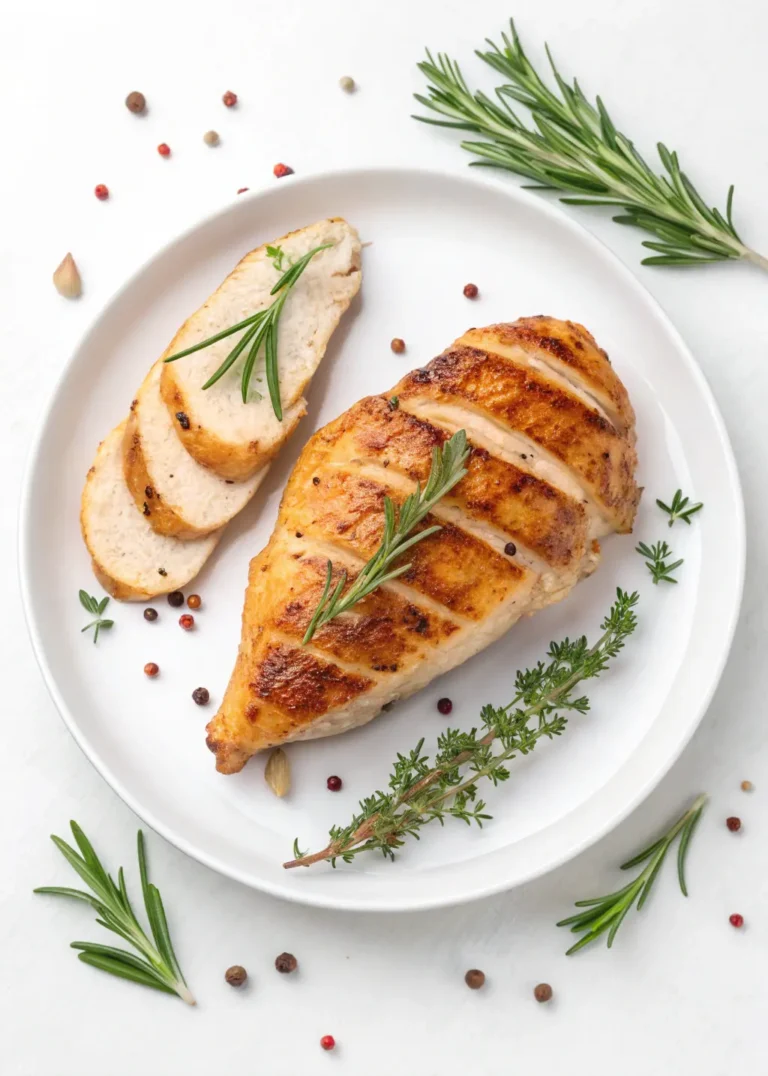
- Flip carefully: Use tongs to turn once, cook another 3-4 minutes
- Temperature check: Internal temperature should reach 165°F
- Proper draining: Transfer to a wire rack, not paper towels
The wire rack prevents steam from building up underneath, which would soften your crispy coating.
Assembling Your Ultimate Chicken Parm Sandwich
Bread Selection and Preparation
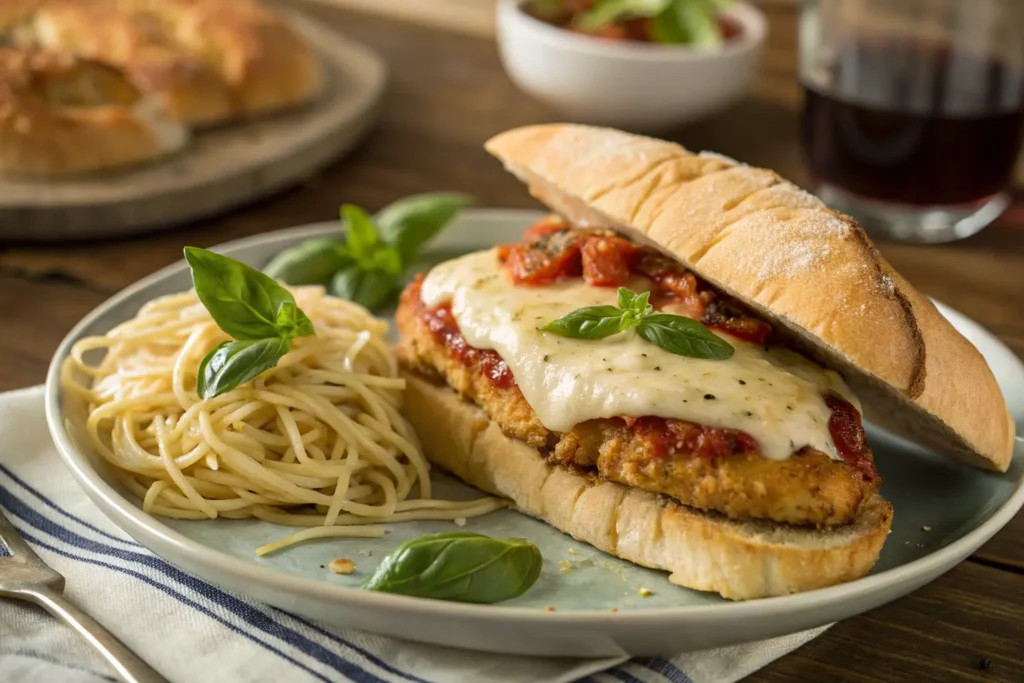
Choose sturdy Italian sub rolls or ciabatta that can handle the weight and moisture. Slice horizontally and lightly toast the cut sides. This creates a barrier that prevents the bread from becoming soggy.
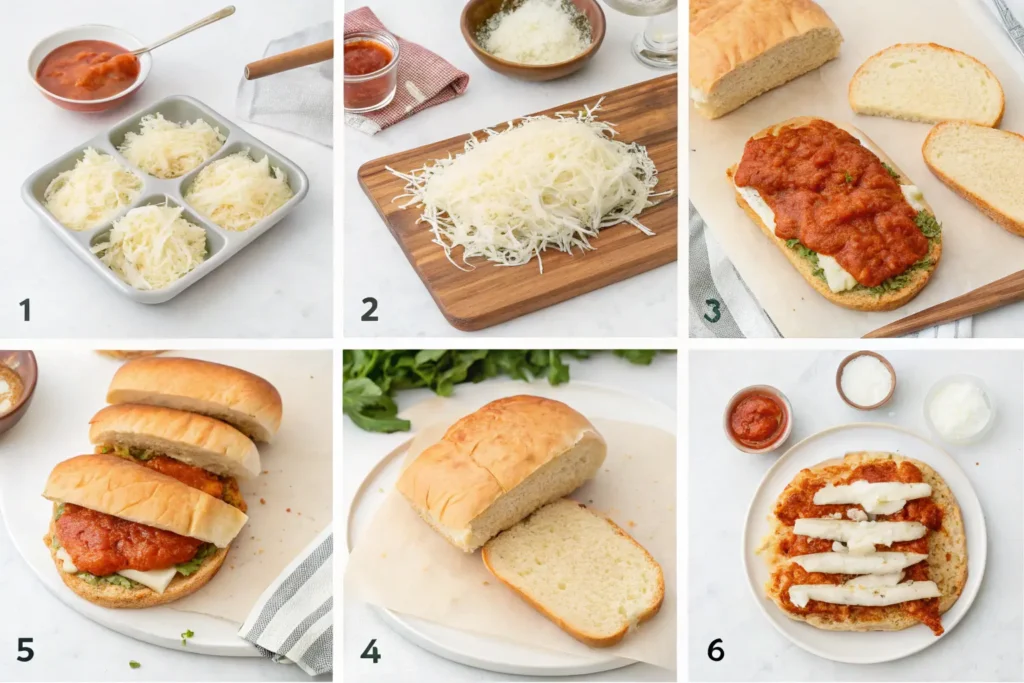
Strategic Layering Technique
Your assembly order matters for structural integrity:
- Light sauce base: Spread thin layer of marinara on bottom bread
- Chicken placement: Center the hot, crispy chicken
- Cheese layer: Top with fresh mozzarella slices
- Final sauce: Add remaining marinara over cheese
- Parmesan finish: Sprinkle additional grated Parmesan
- Top bread: Complete your masterpiece
Melting the Cheese Perfectly
Place your assembled sandwich under the broiler for 1-2 minutes, watching carefully. The cheese should melt and bubble slightly without burning the bread. This final step transforms good ingredients into an extraordinary sandwich.
Troubleshooting Common Problems
Preventing Soggy Coating
The most frequent complaint about homemade chicken parm involves lost crispiness. Combat this by:
- Ensuring oil temperature stays consistent
- Avoiding overcrowding the pan
- Using a wire rack for drainage
- Serving immediately after assembly
Achieving Proper Doneness
Undercooked chicken poses health risks, while overcooked chicken becomes tough and dry. Your instant-read thermometer is your best friend here – 165°F internal temperature ensures safety without sacrificing moisture.
Sauce Application Strategy
Too much sauce creates mess and sogginess, while too little leaves flavors unbalanced. Apply sauce in thin, even layers, allowing each component to contribute without overwhelming others.
Variations and Customizations
Dietary Adaptations
Gluten-Free Option: Replace regular flour with rice flour and use gluten-free breadcrumbs. The texture will be slightly different but equally delicious.
Lighter Version: Instead of frying, bake breaded chicken at 425°F for 20-25 minutes, flipping halfway through. While not identical to fried, this method significantly reduces calories.
Flavor Variations
Spicy Chicken Parm: Add cayenne pepper to your flour and breadcrumb mixture, plus hot sauce to your marinara.
Herb-Crusted: Mix fresh chopped herbs like basil, oregano, and thyme into your breadcrumbs for aromatic complexity.
Frequently Asked Questions About Chicken Parm Sandwiches
What’s the secret to maintaining crispiness in a chicken parm sandwich? The key lies in proper drainage after frying and immediate assembly. Use a wire rack instead of paper towels, and serve your sandwich right after melting the cheese.
Can I prepare components ahead of time? Absolutely! You can bread your chicken up to 24 hours in advance and refrigerate. The sauce can be made days ahead. However, fry the chicken and assemble just before serving for best results.
How do I prevent the cheese from sliding off my chicken parm sandwich? Use low-moisture mozzarella and don’t overload with cheese. A light layer that covers the chicken completely works better than thick chunks that don’t melt evenly.
Your Journey to Chicken Parm Sandwich Mastery
Mastering the ultimate chicken parm sandwich at home isn’t just about following a recipe – it’s about understanding the science behind each component and how they work together to create that perfect bite. From the satisfying crunch of properly breaded and fried chicken to the harmonious blend of tangy marinara and creamy melted cheese, every element plays a crucial role in your success.
The beauty of homemade chicken parm sandwiches lies not just in their incredible taste, but in the satisfaction of creating something truly special with your own hands. Each sandwich you craft will be better than the last as you refine your technique and discover your personal preferences.
Remember that cooking is both art and science. While following these guidelines will set you up for success, don’t be afraid to adjust seasonings, try different cheese combinations, or experiment with sauce variations. The perfect chicken parm sandwich is ultimately the one that satisfies your specific tastes and brings joy to your table.
Ready to create your masterpiece? Gather your ingredients, set up that breading station, and prepare to experience the ultimate comfort food – made exactly the way you love it. Your kitchen is about to become the best Italian restaurant in town, and you’re the chef in charge of every delicious detail.
Have you given our recipe a try?
There are no reviews yet. Be the first one to write one.